User Guide
This page is designed as an operational user guide for ward and stake clerks. It includes onboarding, daily workflows, and visual references.
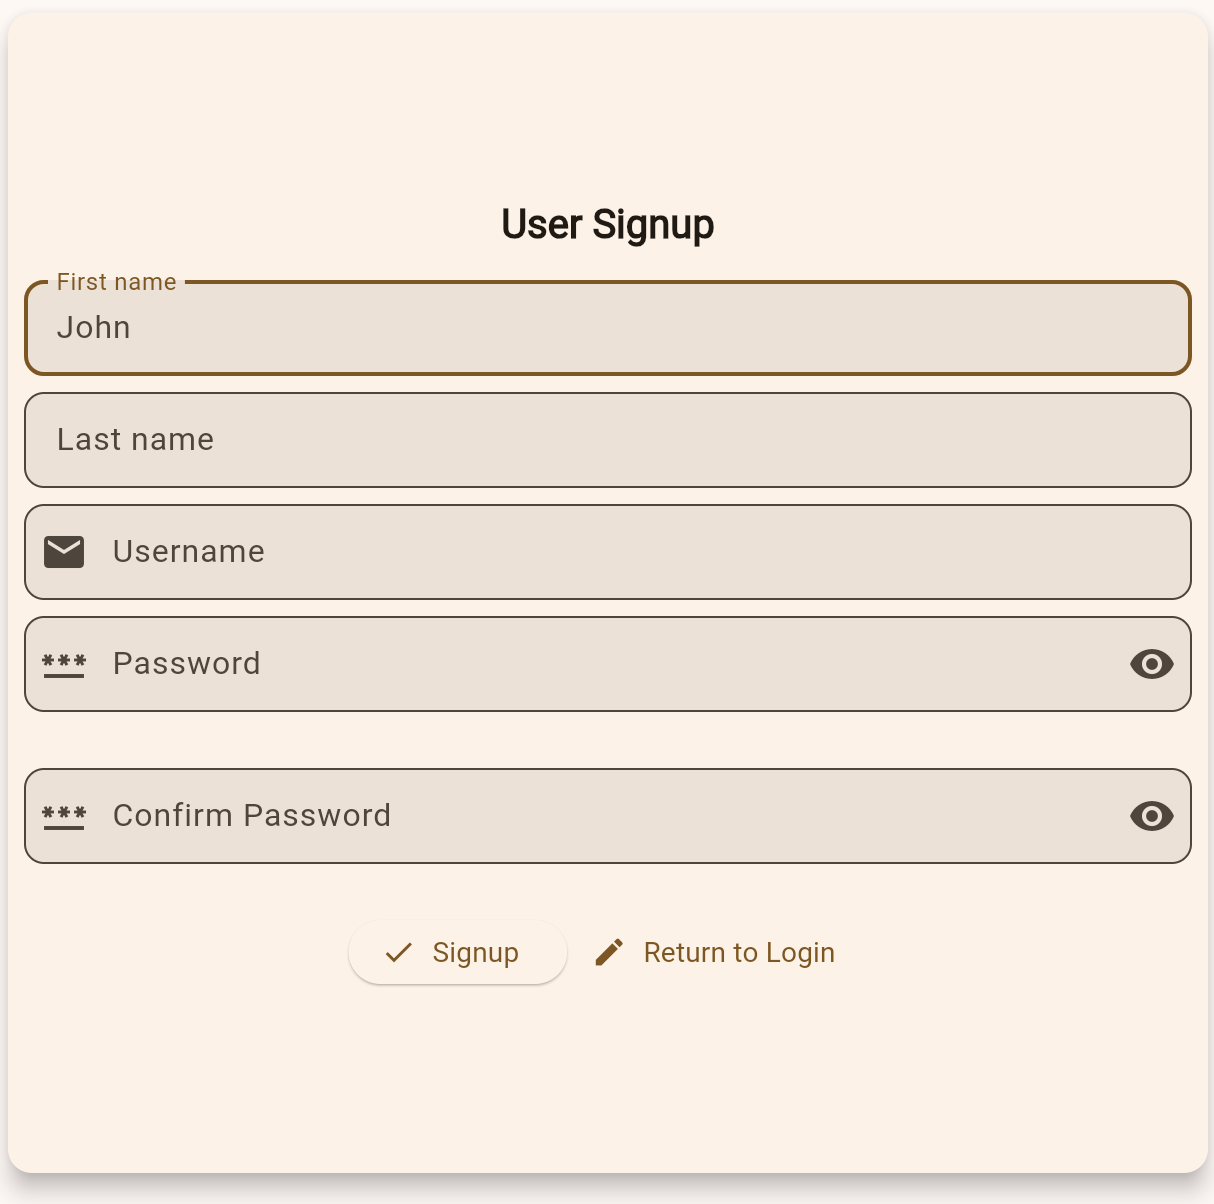
1. Onboarding
- Sign in with your account credentials.
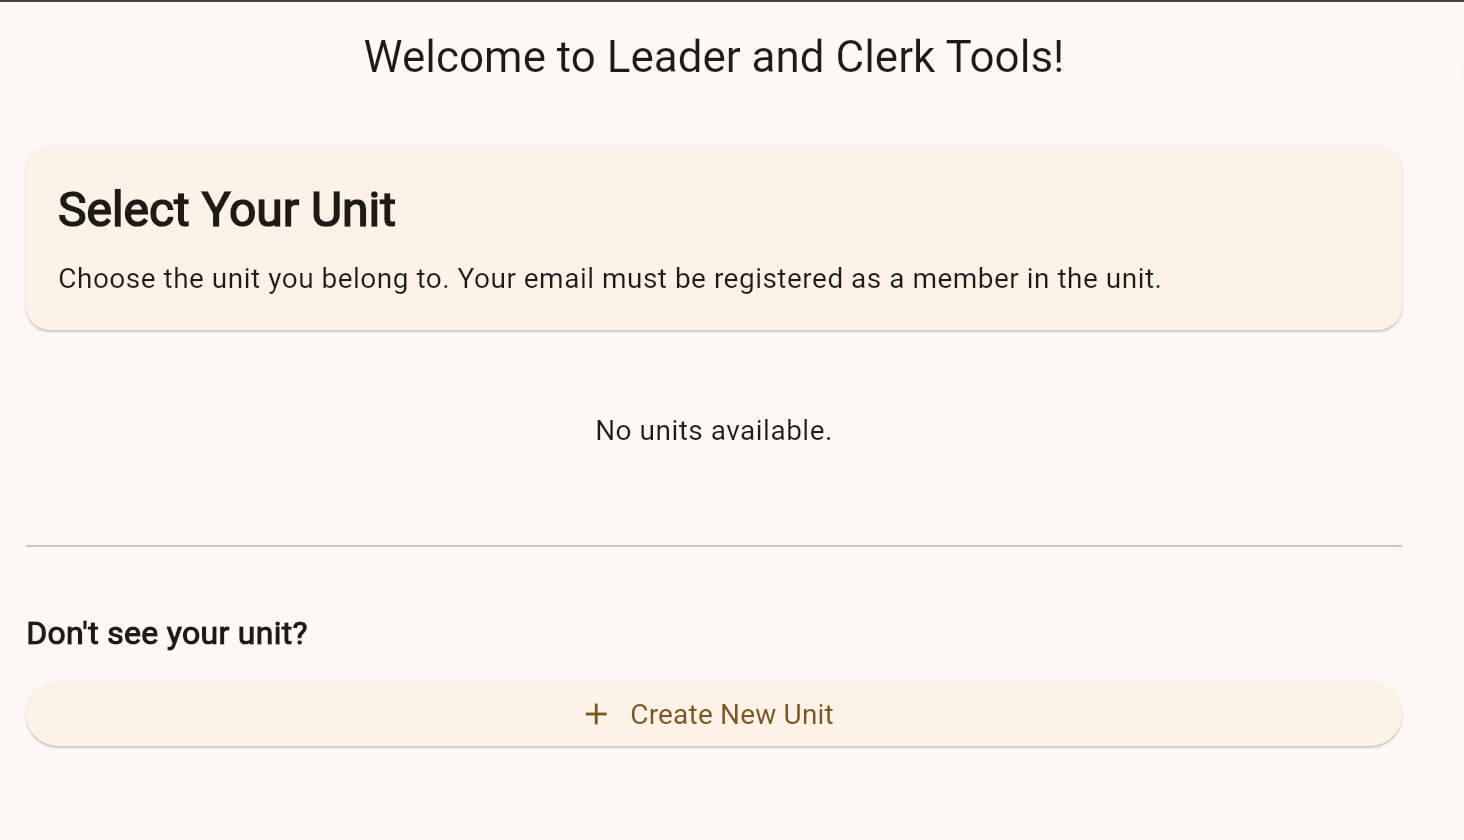
- Select your unit from the onboarding screen.
- If your unit is missing, ask an admin to add/link your account.
2. Navigation Basics
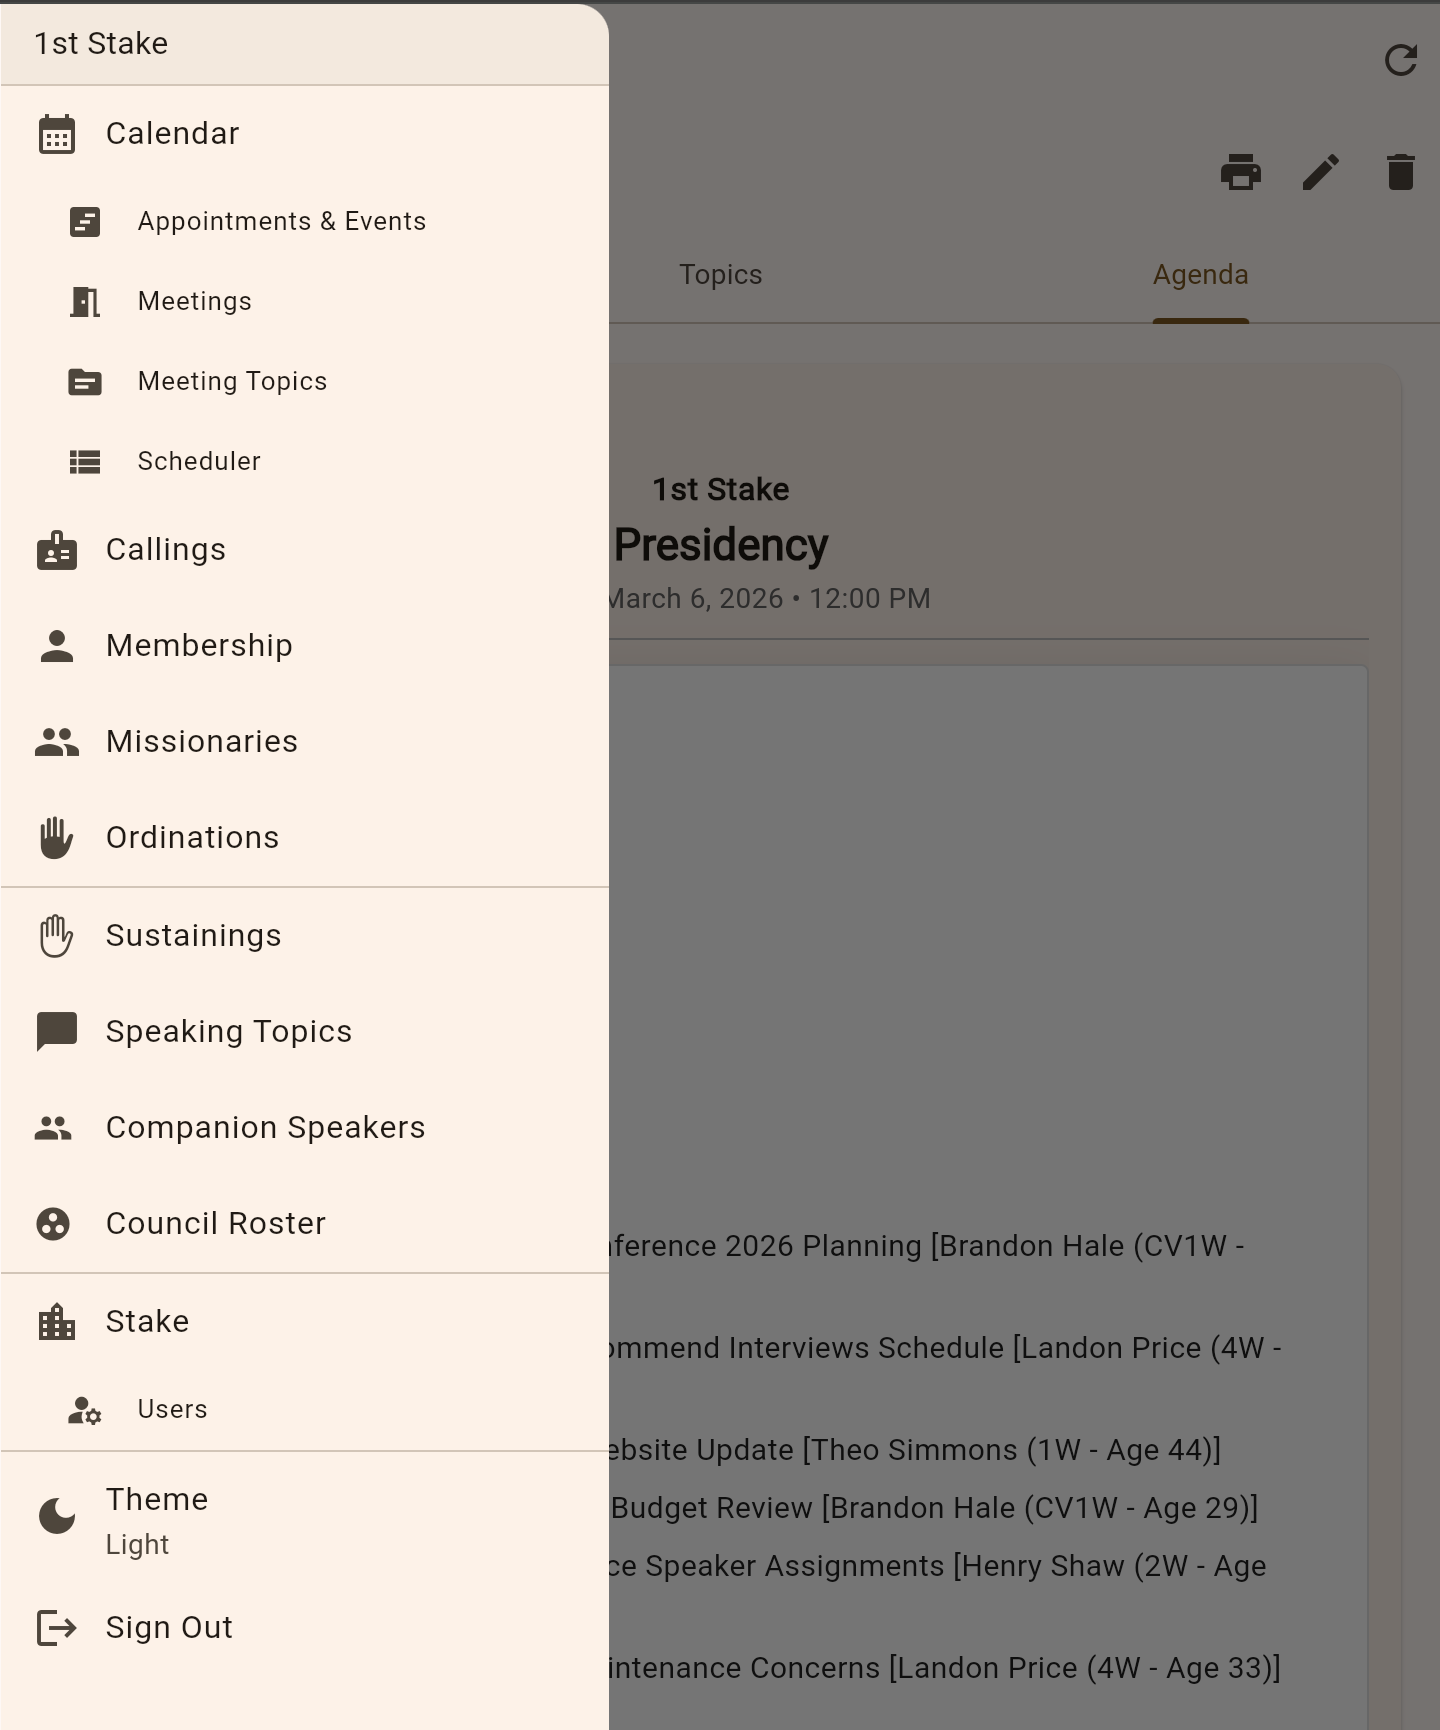
- Use the menu drawer to switch between Members, Callings, Meetings, and Scheduling.
- Open detail screens to edit records, then use Save to persist changes.
- Use top-right actions for edit and delete where available.
4. Stake vs Ward Differences
The app adjusts key workflows based on your current unit context. These two differences are especially important.
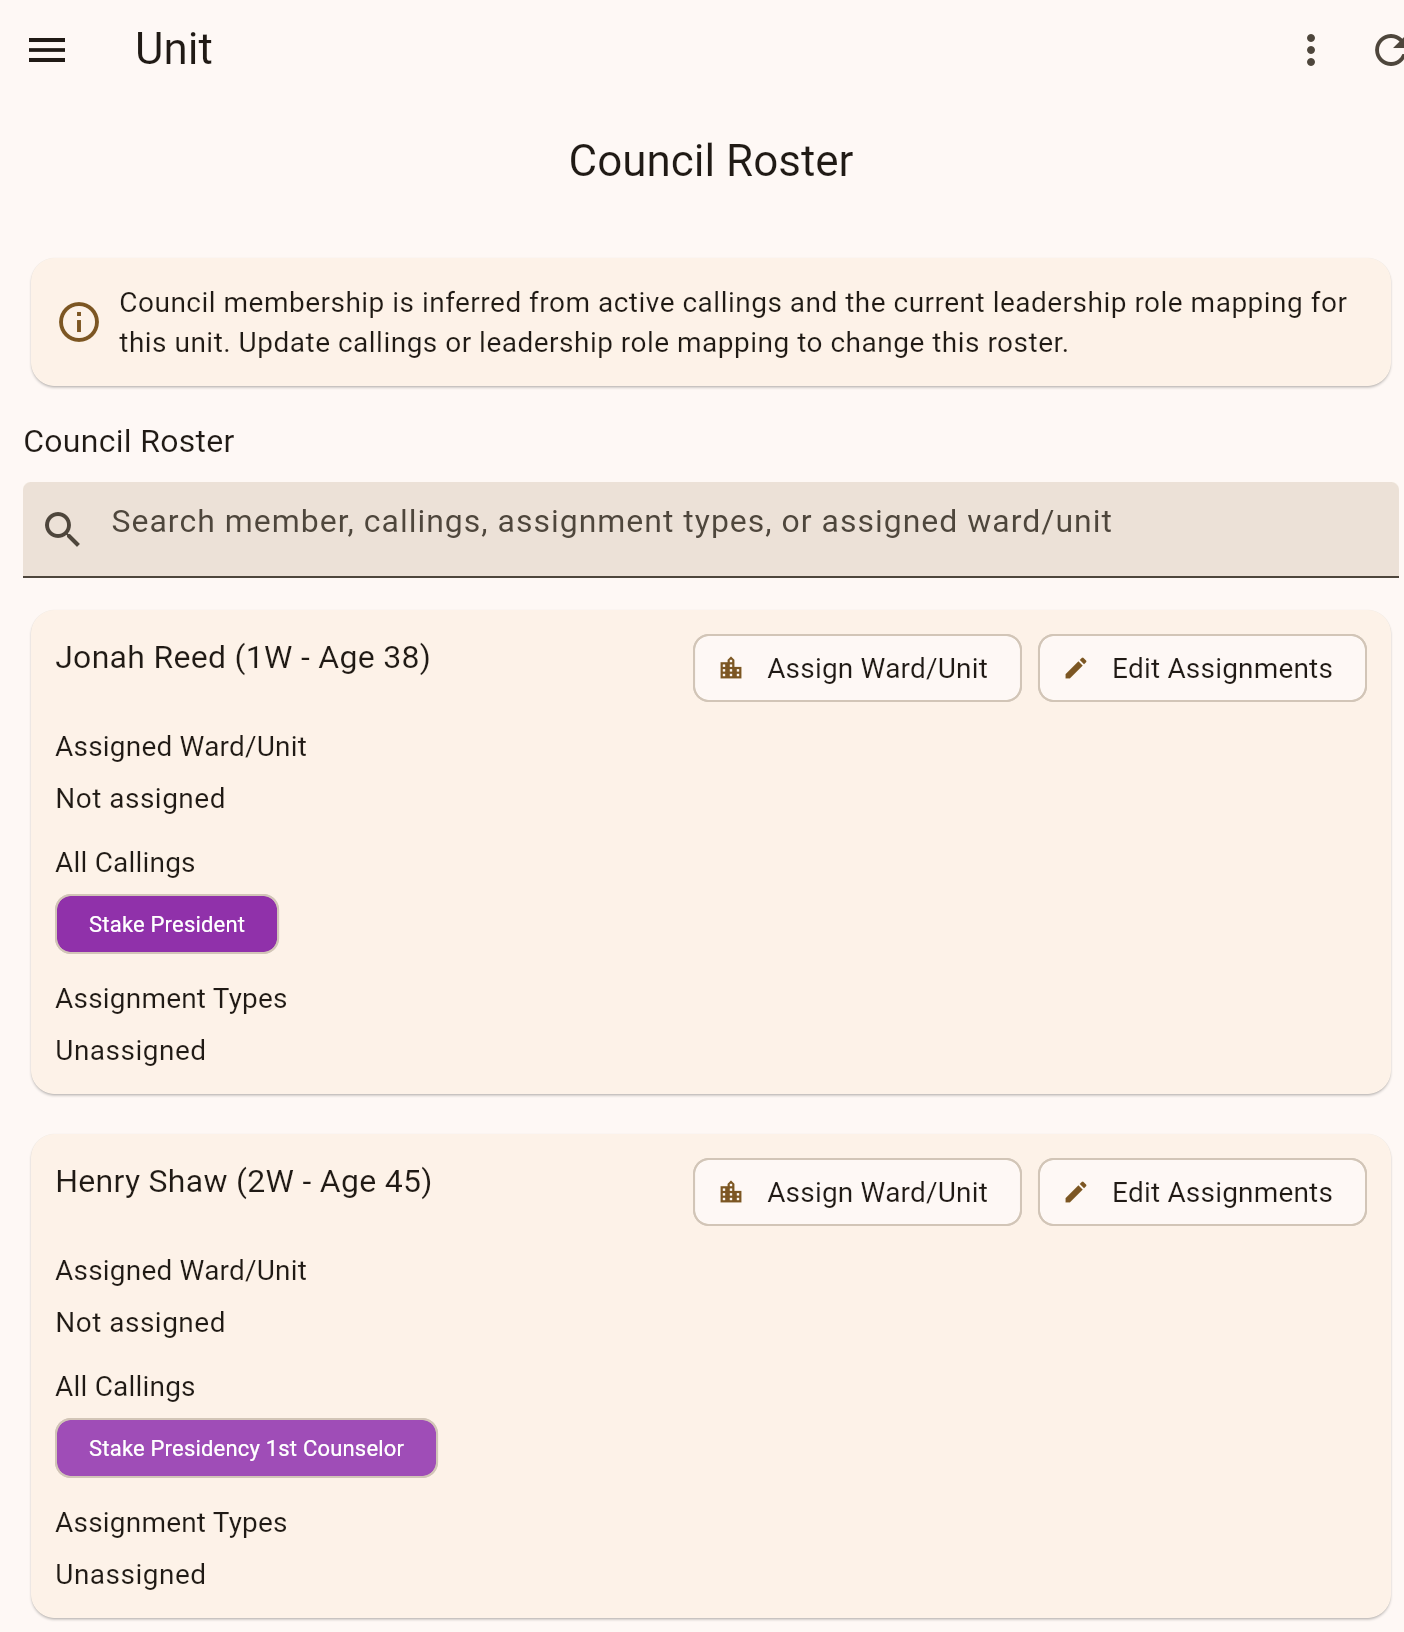
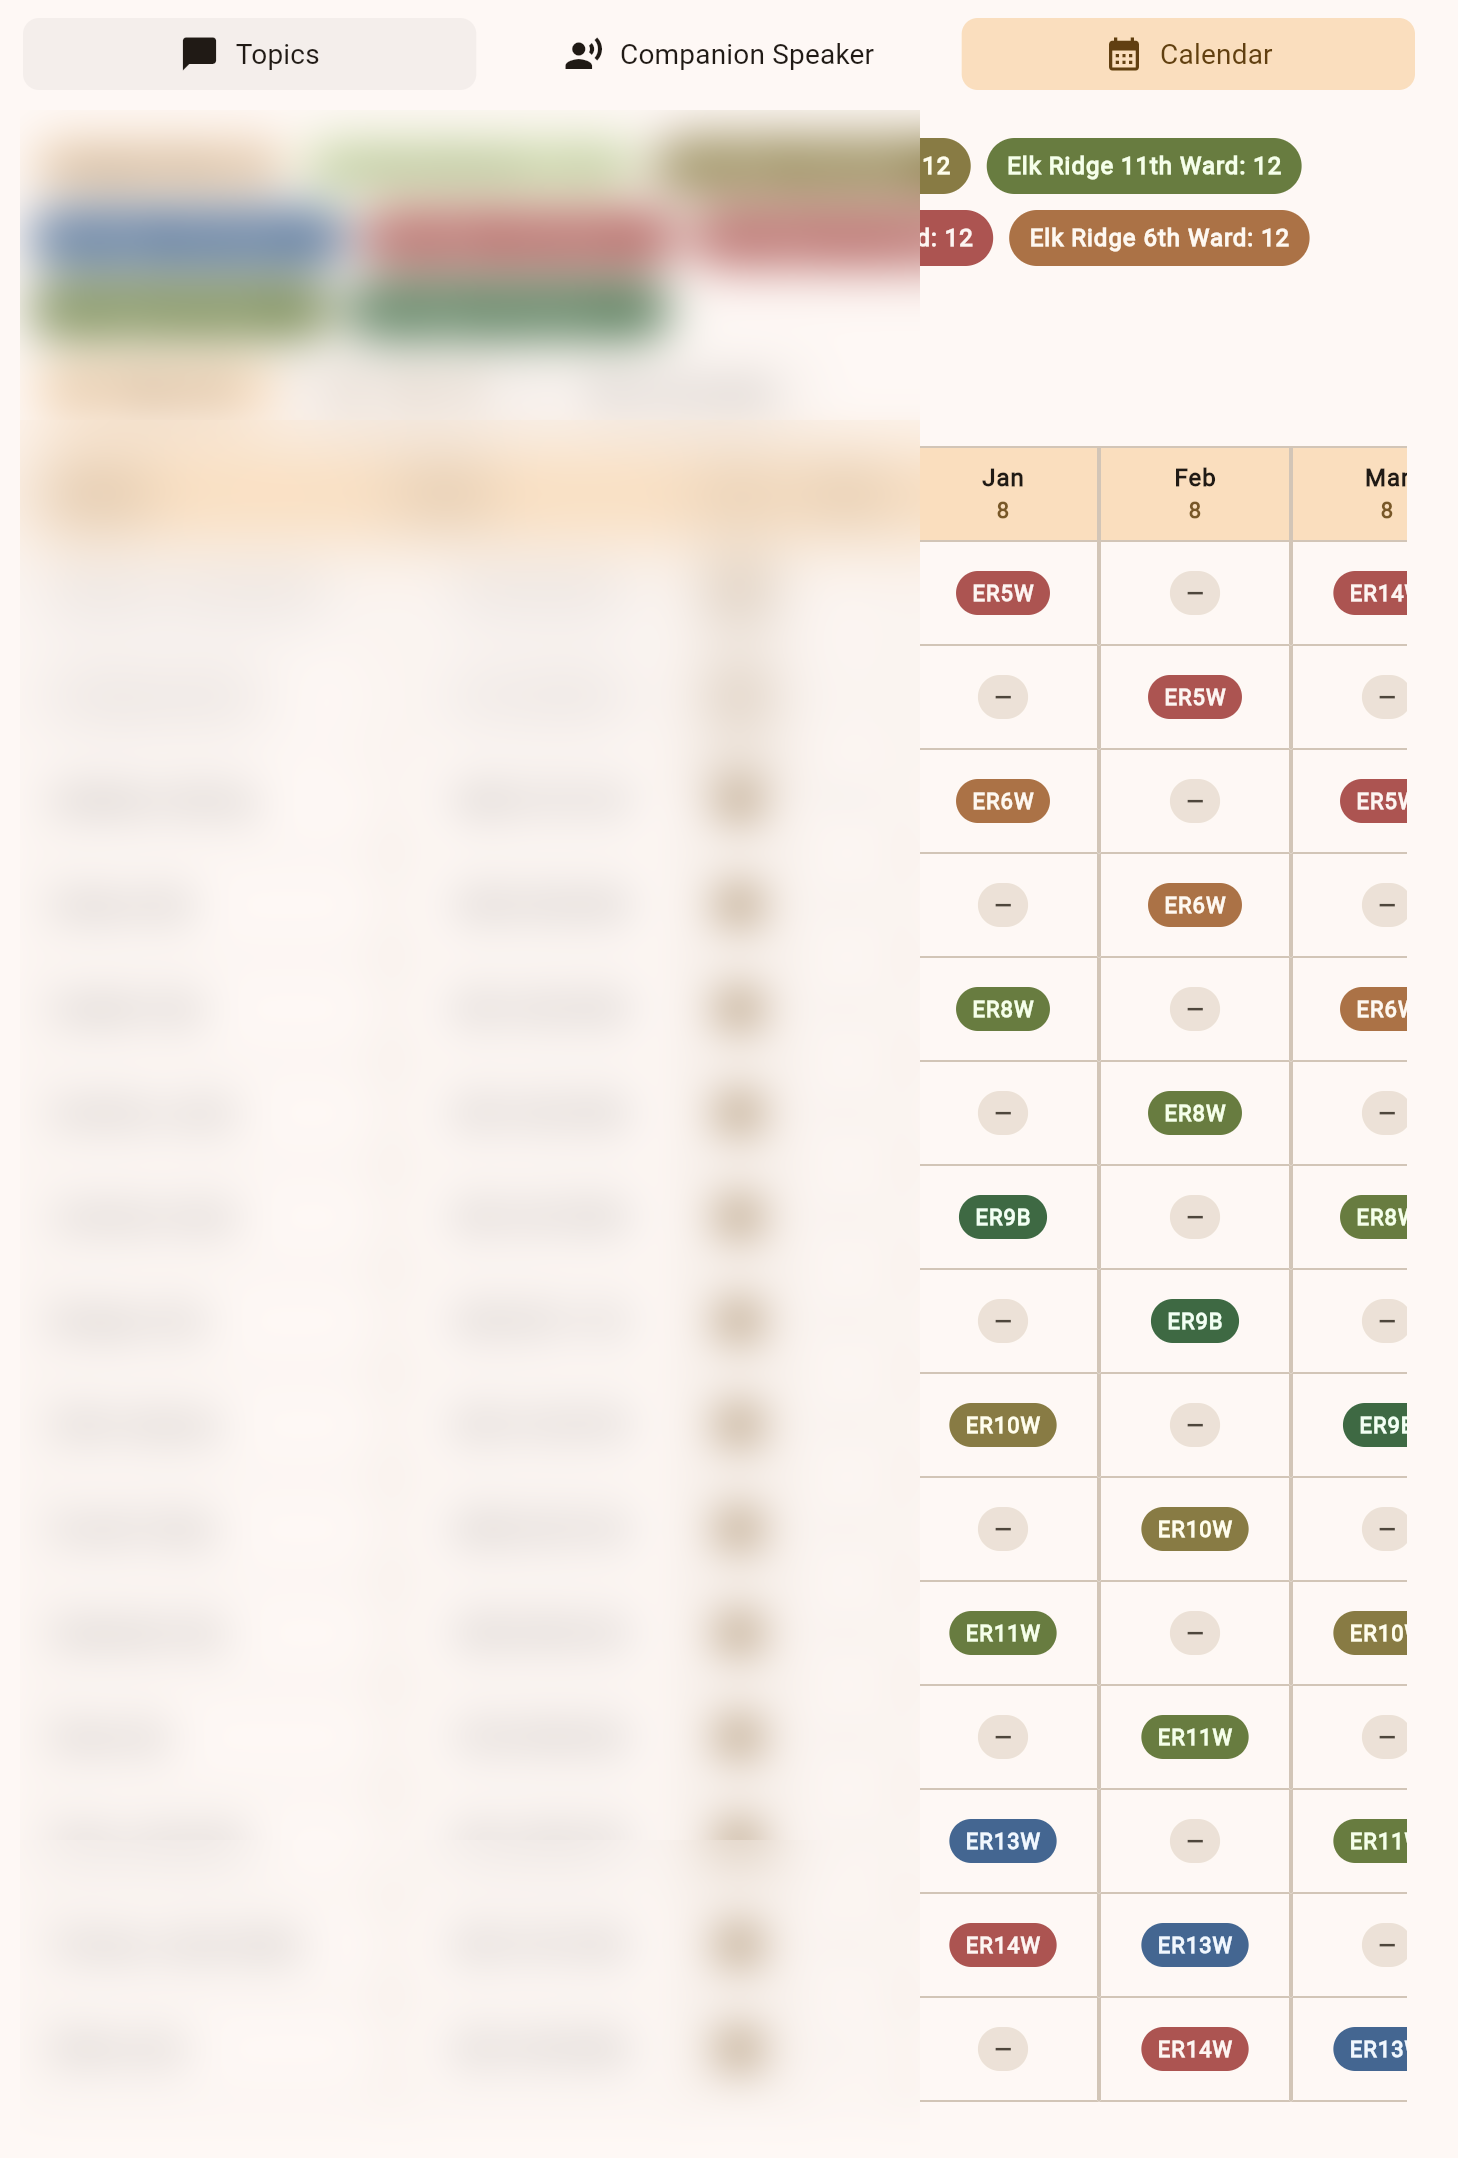
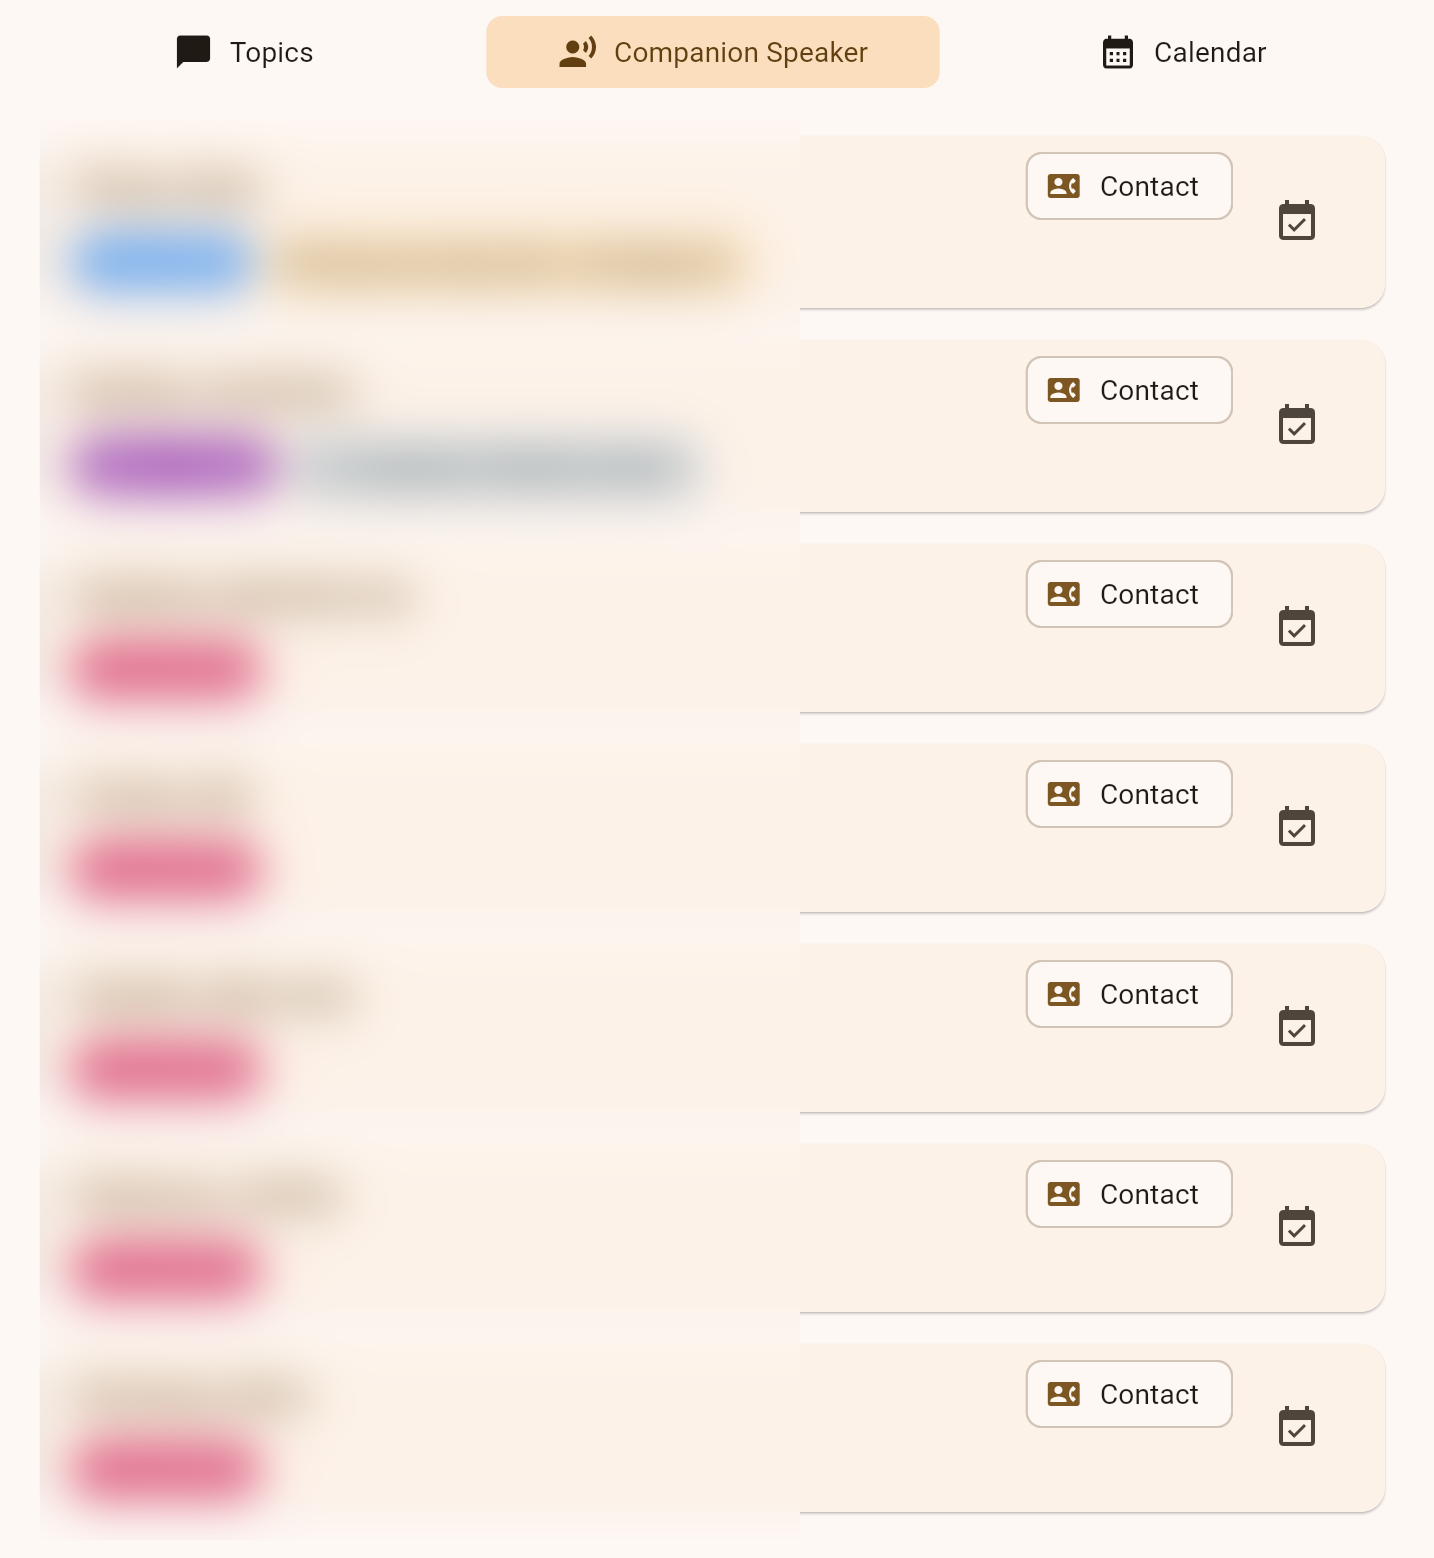
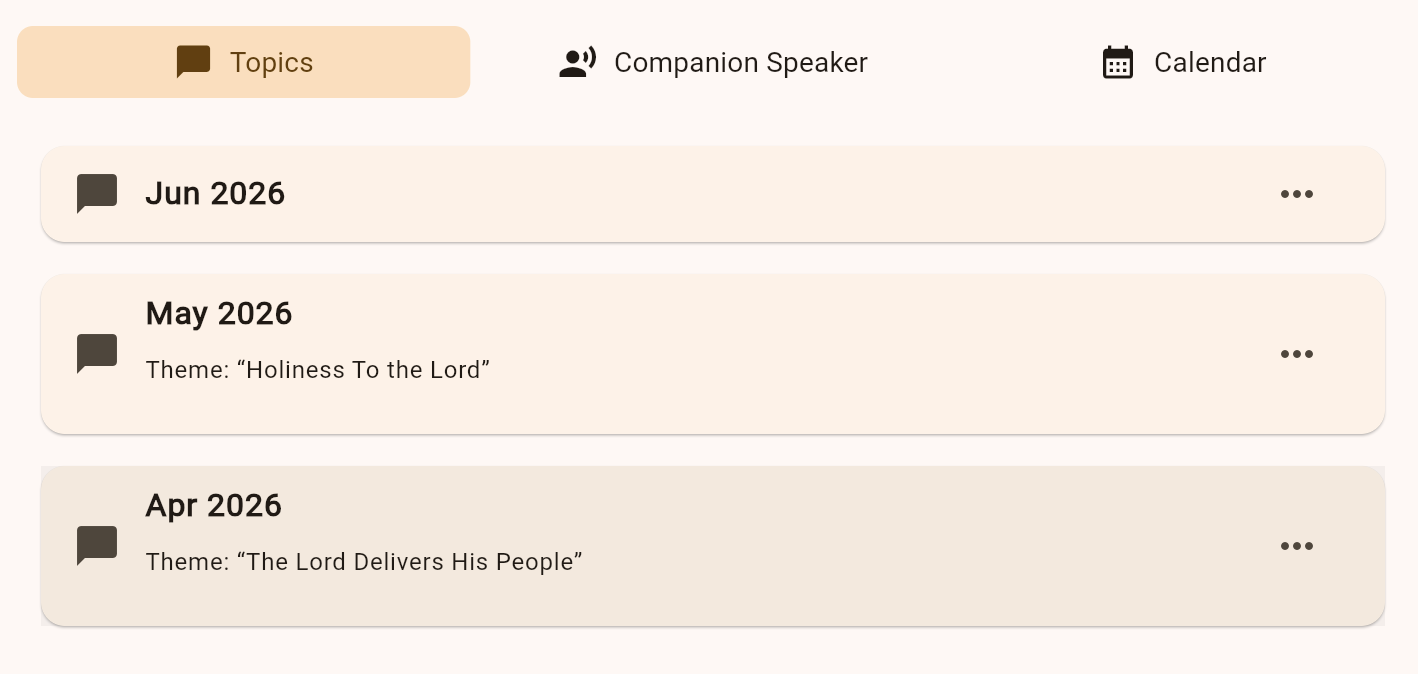
Stake Context: Council Speaking
- Open Speaking and select the Calendar tab.
- Plan assignments across council members by month.
- Assign ward or branch locations for each speaking slot.
- Use inclusion and ordering controls for roster planning.
Ward/Branch Context: Sacrament Meeting
- Open Speaking and use Sacrament Program workflows.
- Track ward-level sacrament meeting planning details.
- Manage local assignments relevant to ward administration.
- Use meeting-specific records rather than stake council calendar planning.
Council Speaking Screenshot Slots
3. Core Workflows
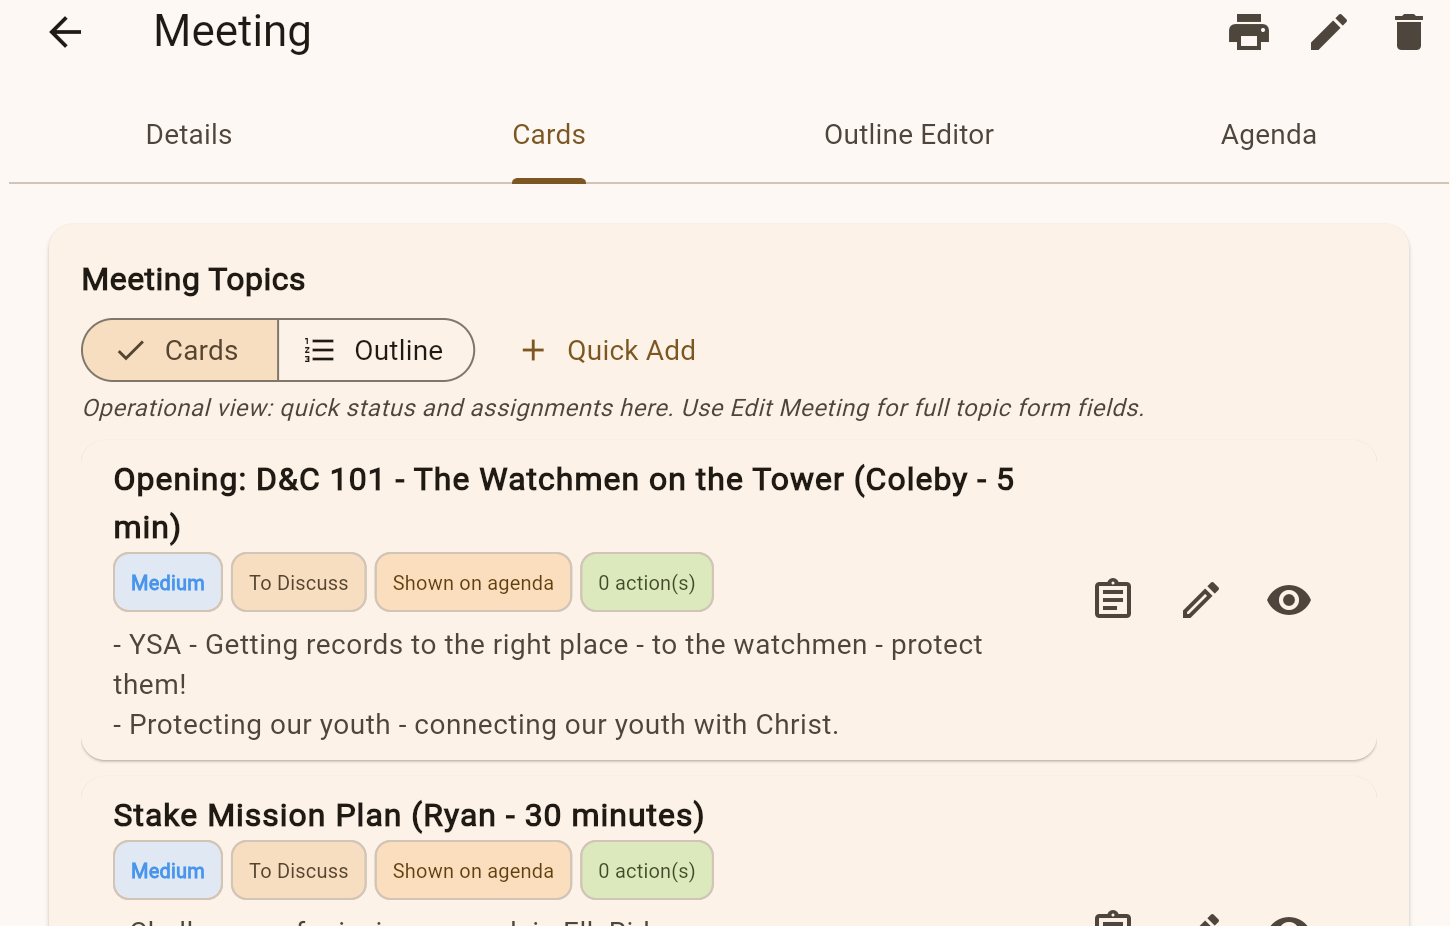
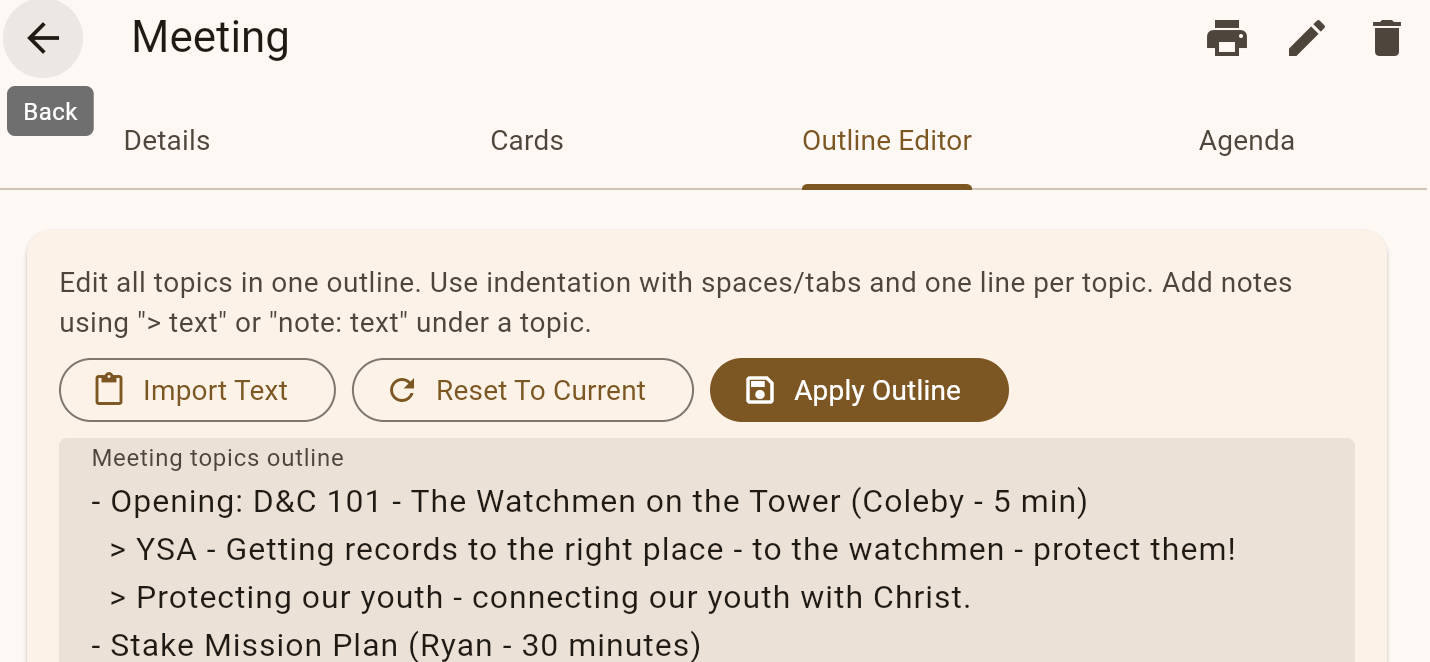
A. Add a Meeting Topic
- Go to Meetings and open a meeting detail page.
- Open Meeting Topics and choose Add Topic.
- Set priority and status, then save.
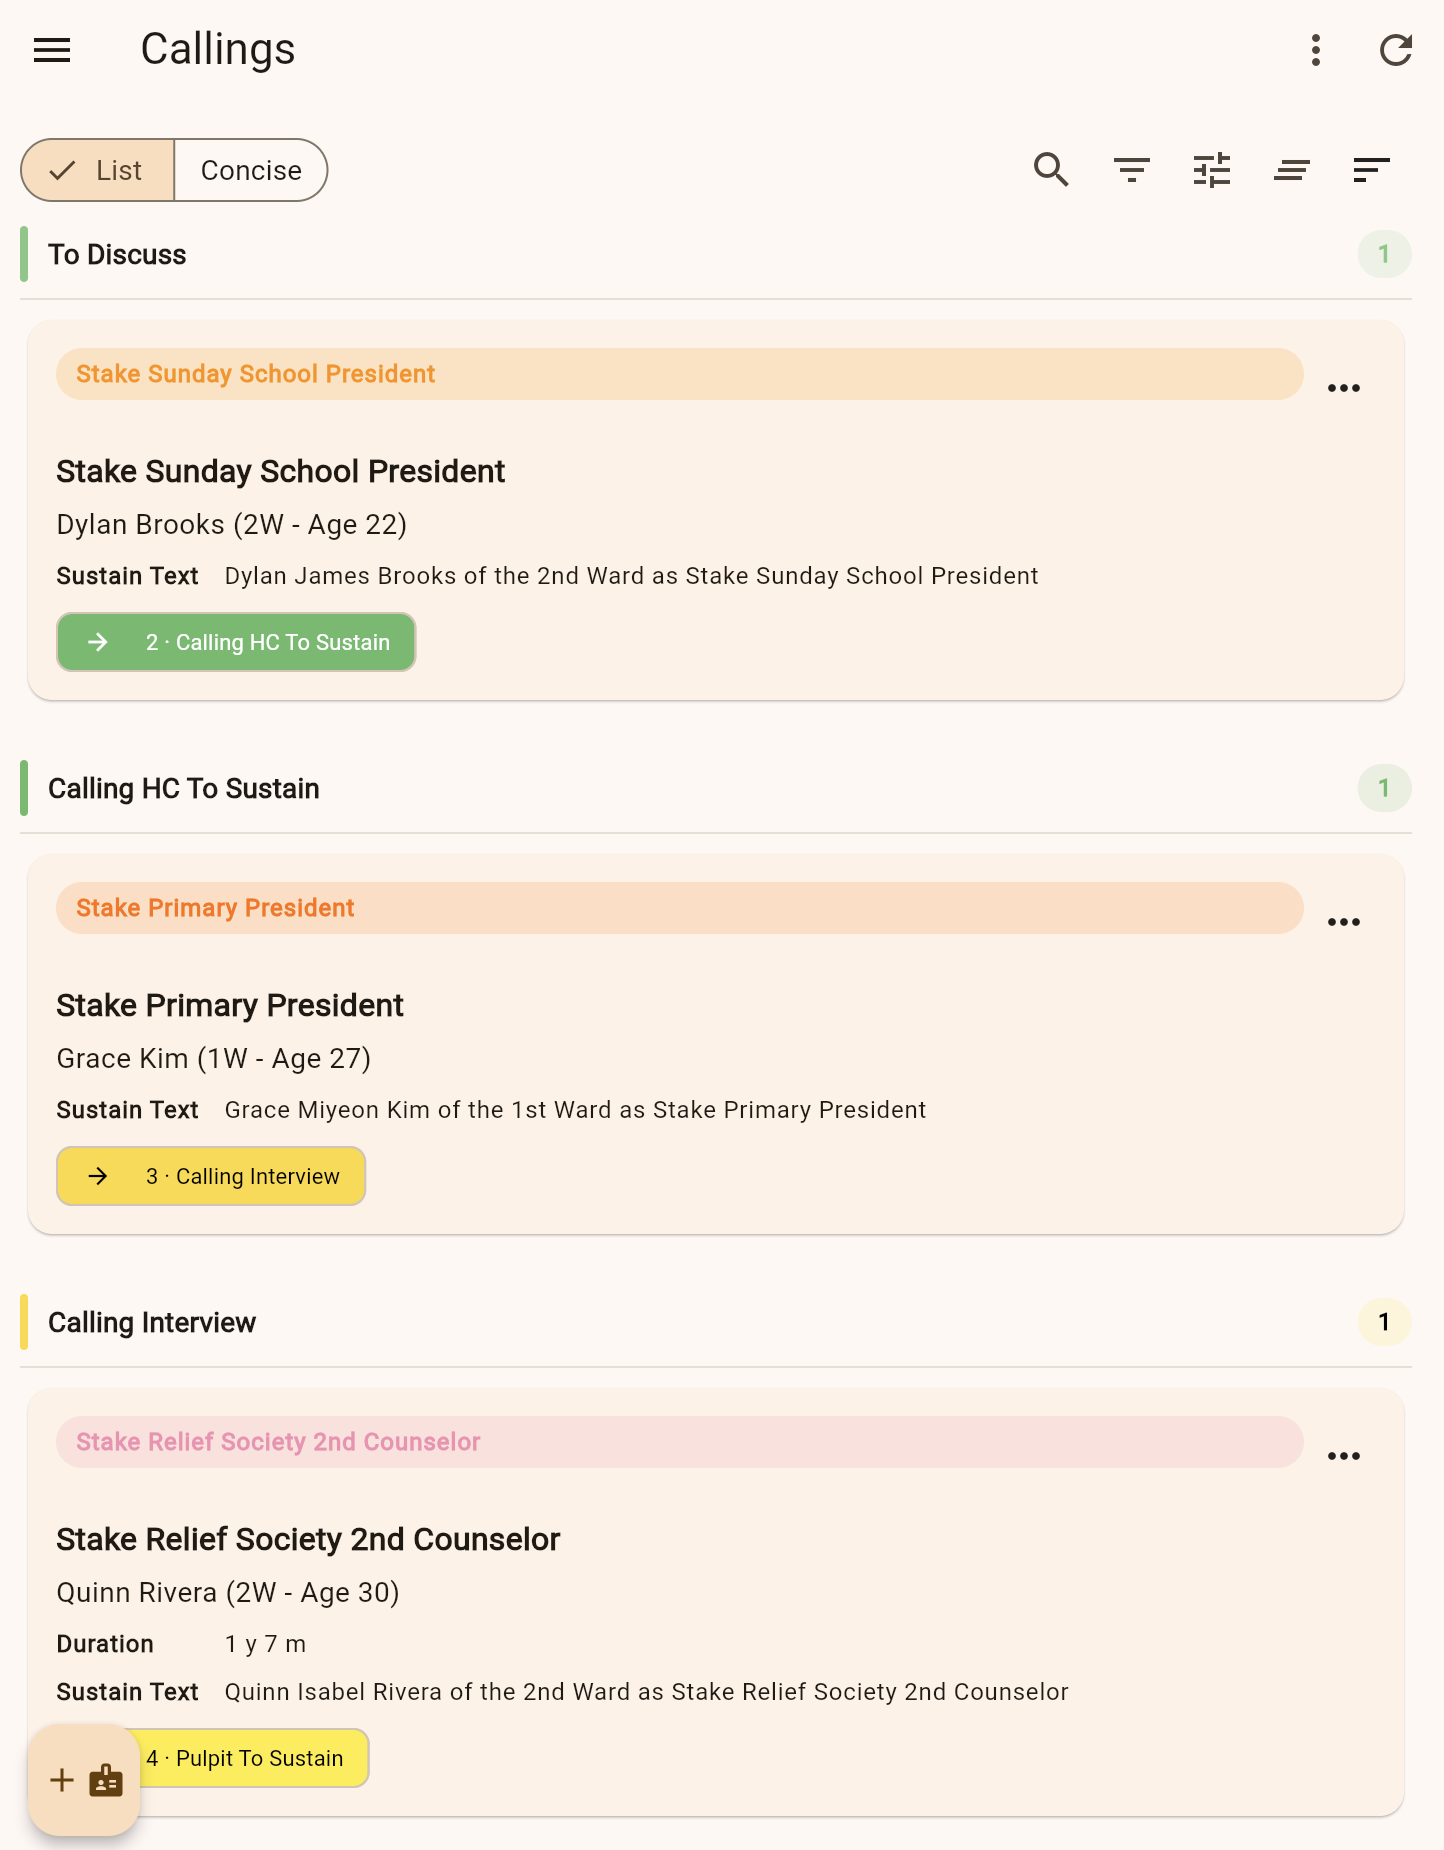
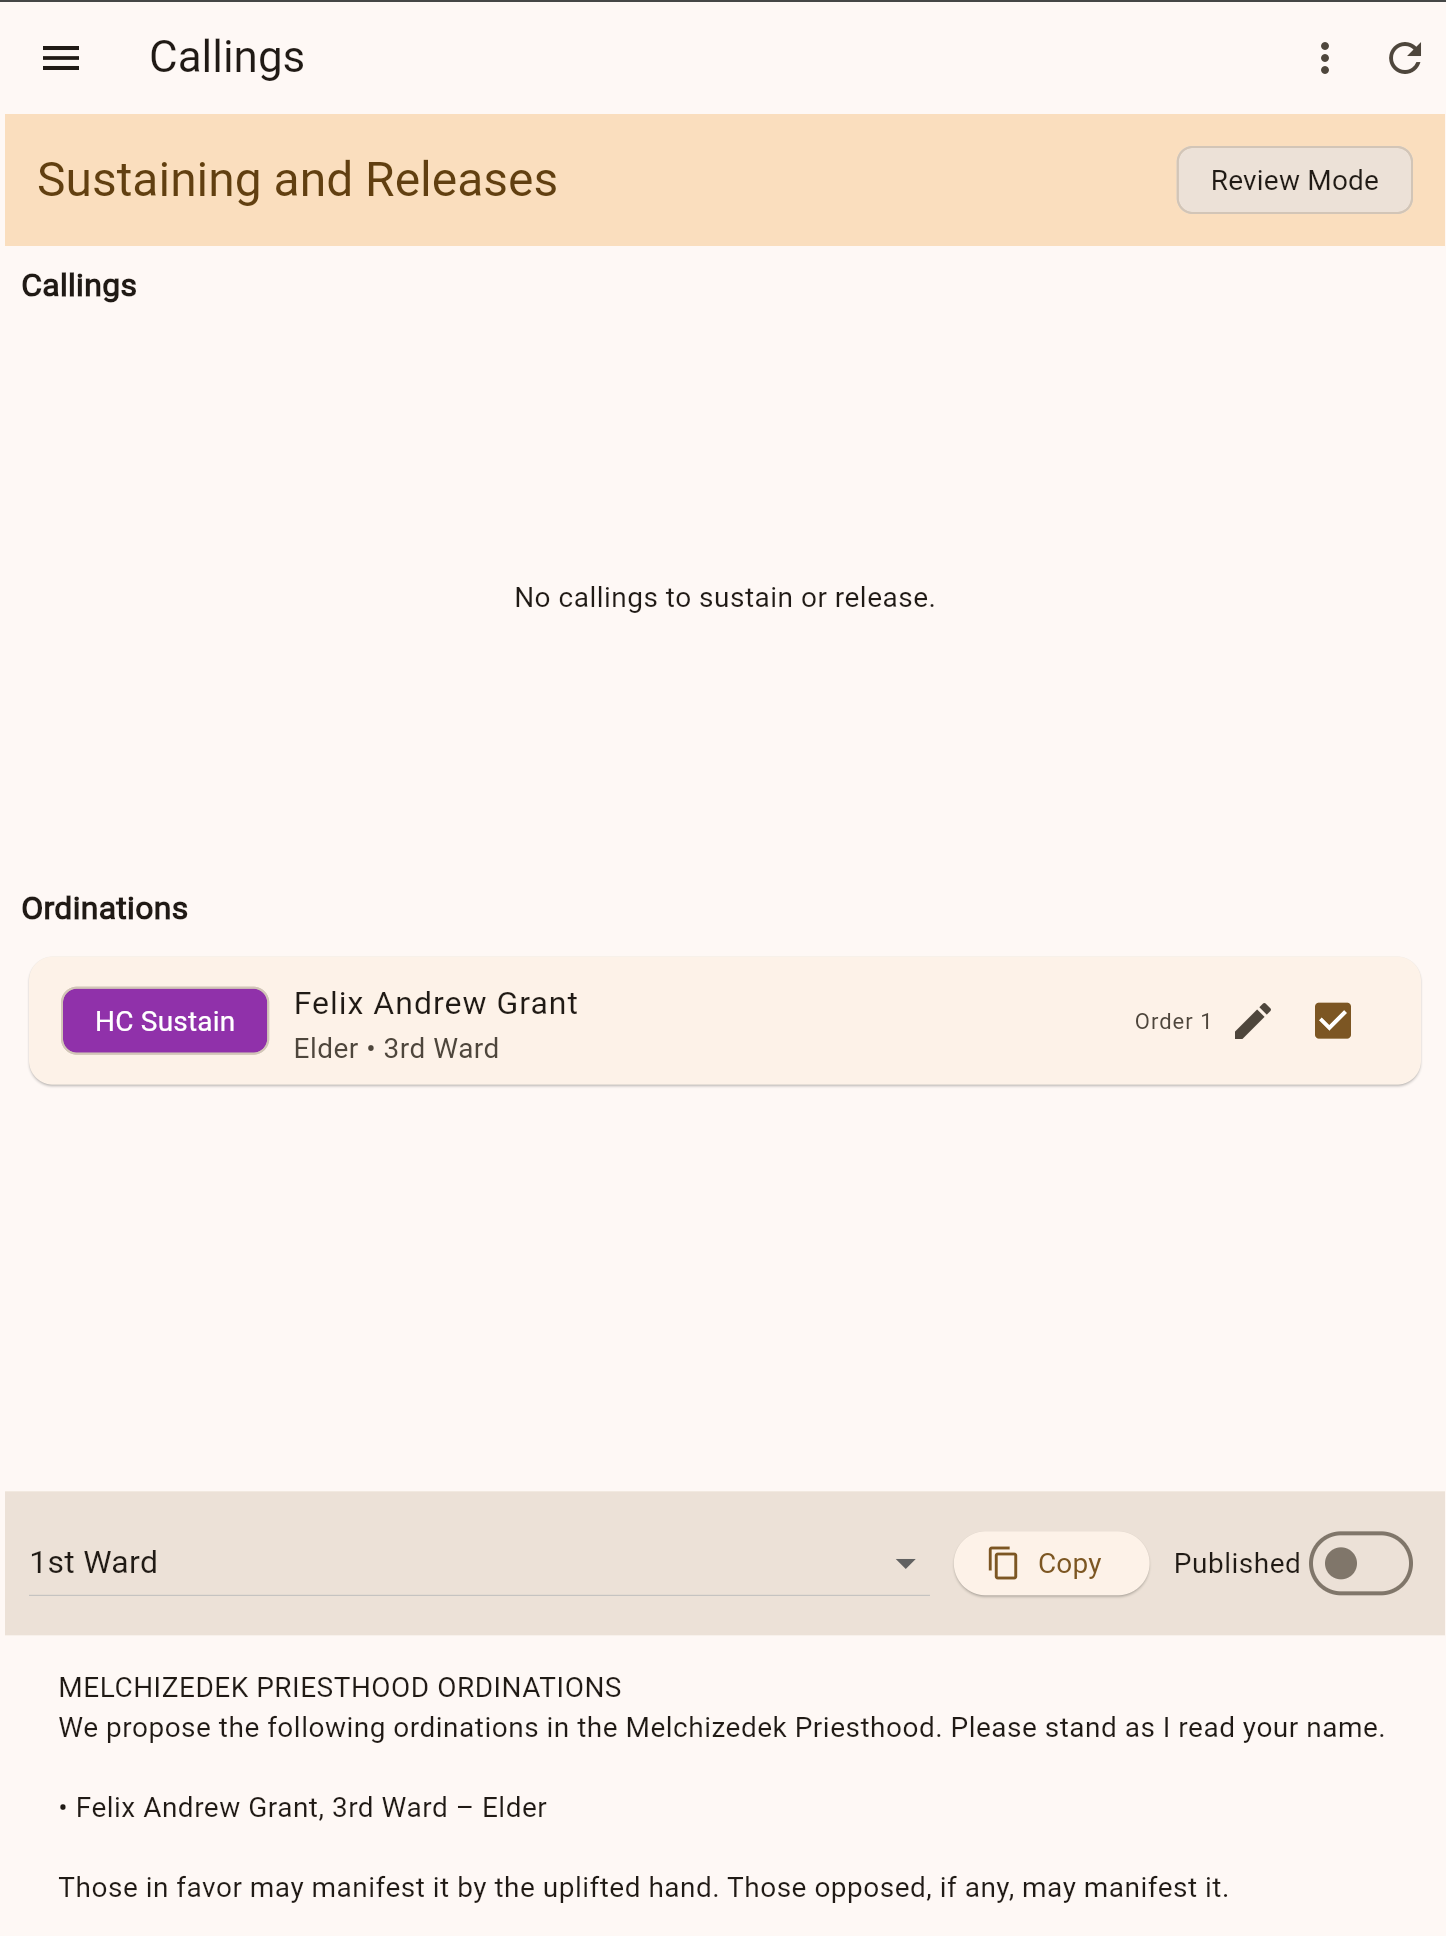
B. Manage Callings
- Open Callings and select the member or position.
- Assign or update the calling record.
- Confirm updates in the list view.
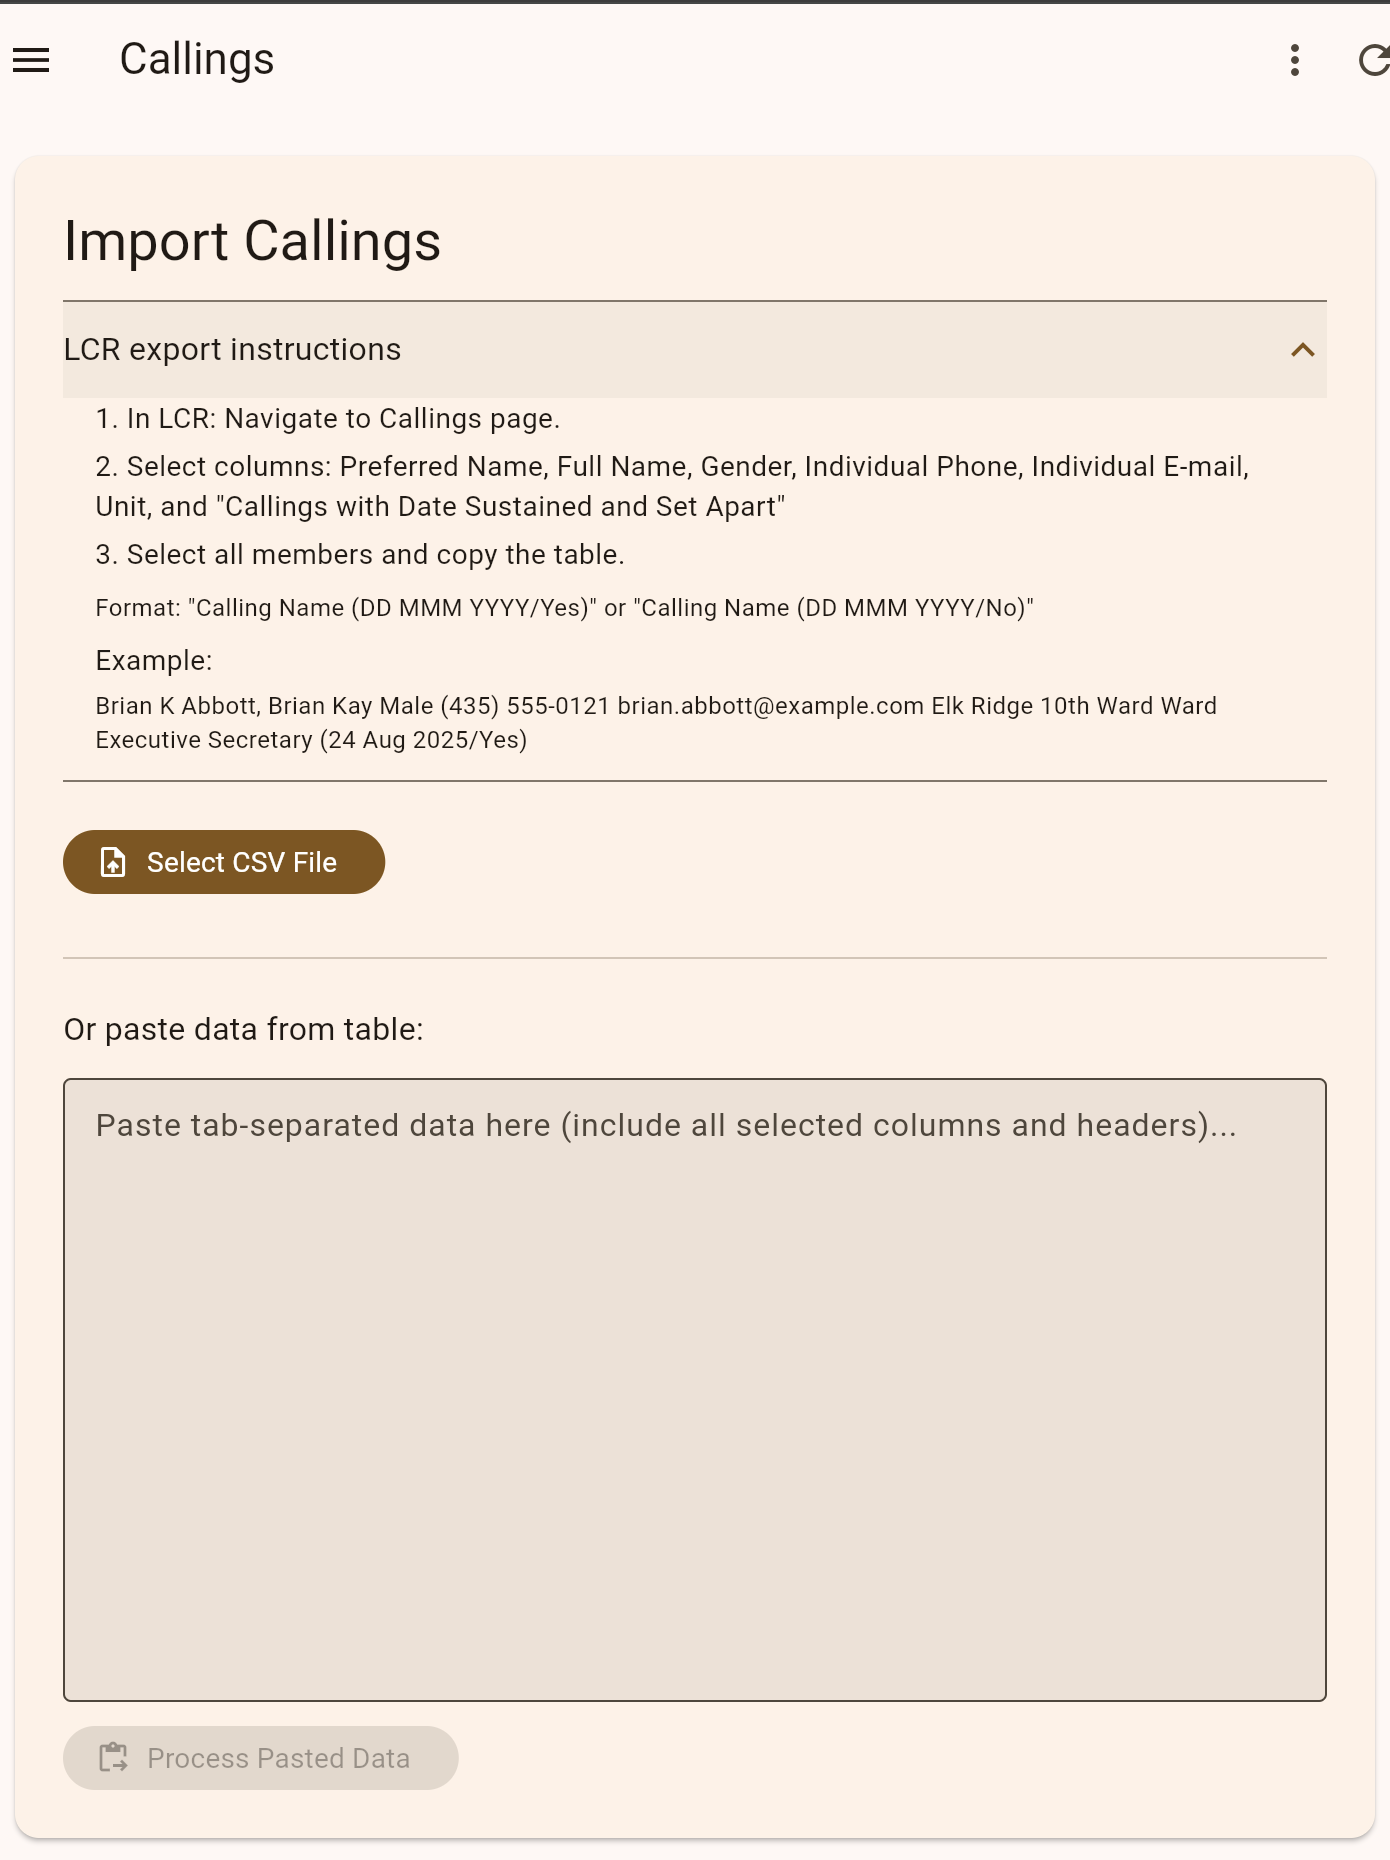
C. Import Member Roster from LCR
- Go to Members and select the Import button.
- Copy and paste your member data from Latter-day Membership Records (LCR) into the import form.
- The app will automatically parse and load members into your roster, supporting both bulk imports and incremental updates for ease of management.
- Review the import results and save.
LCR imports streamline setup and help keep member records in sync with official church records. You can import member names, contact info, birthdays, and household relationships.
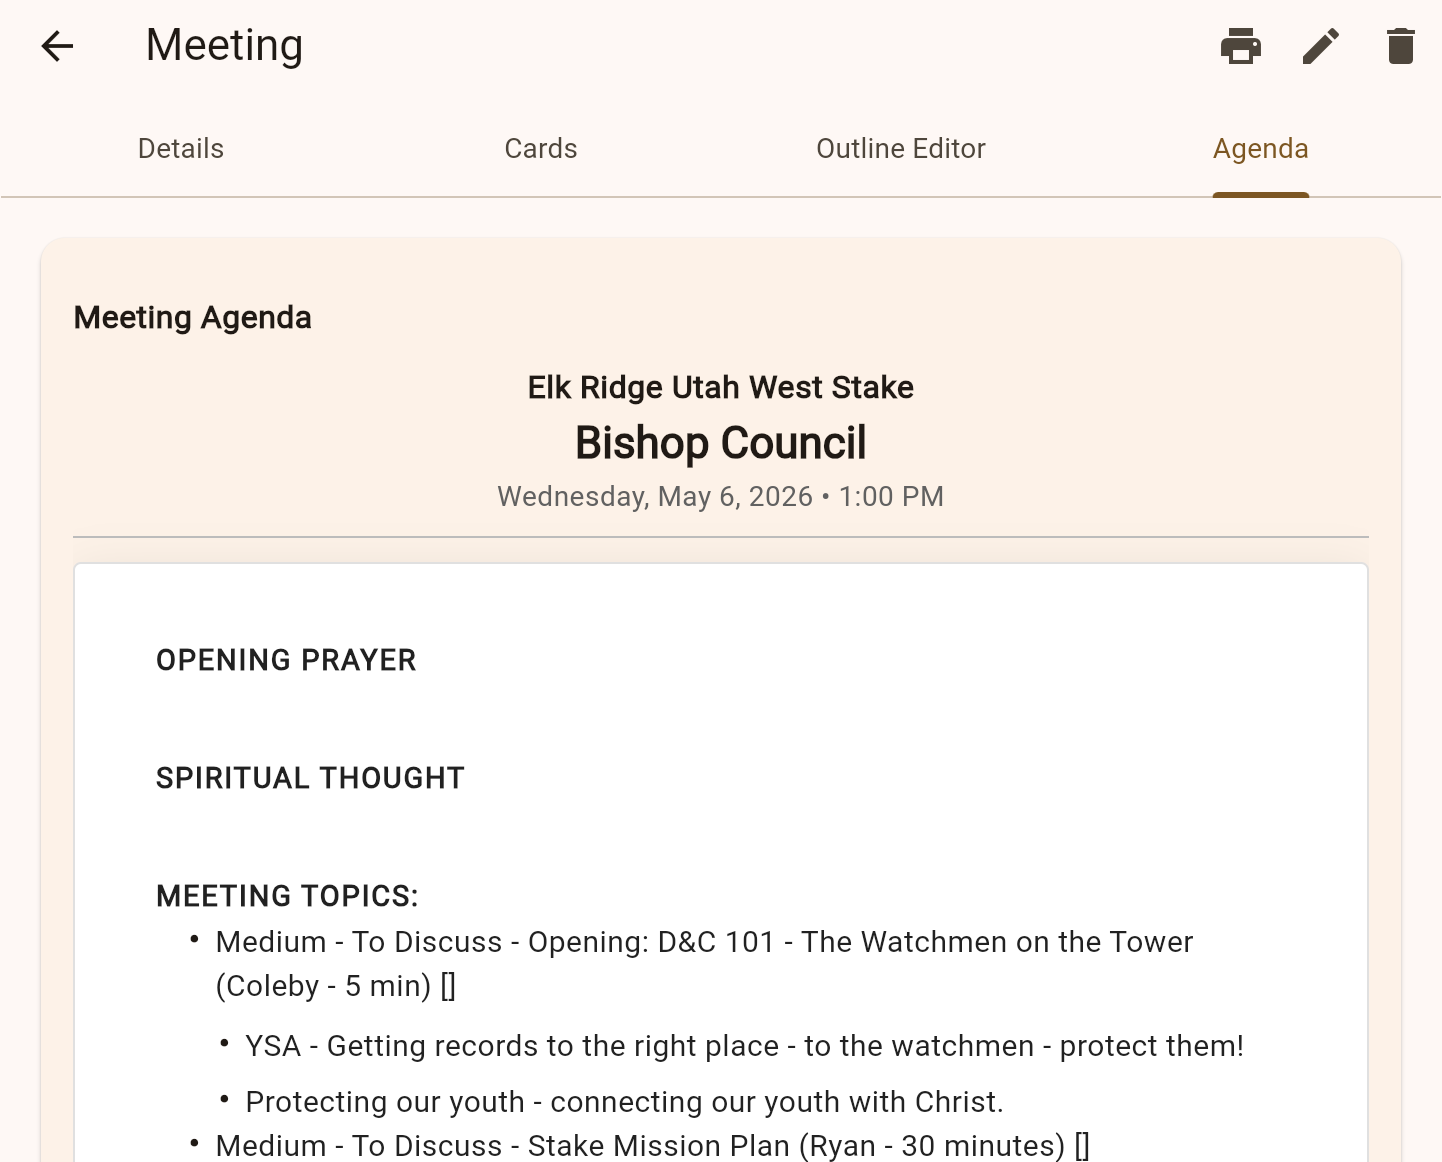
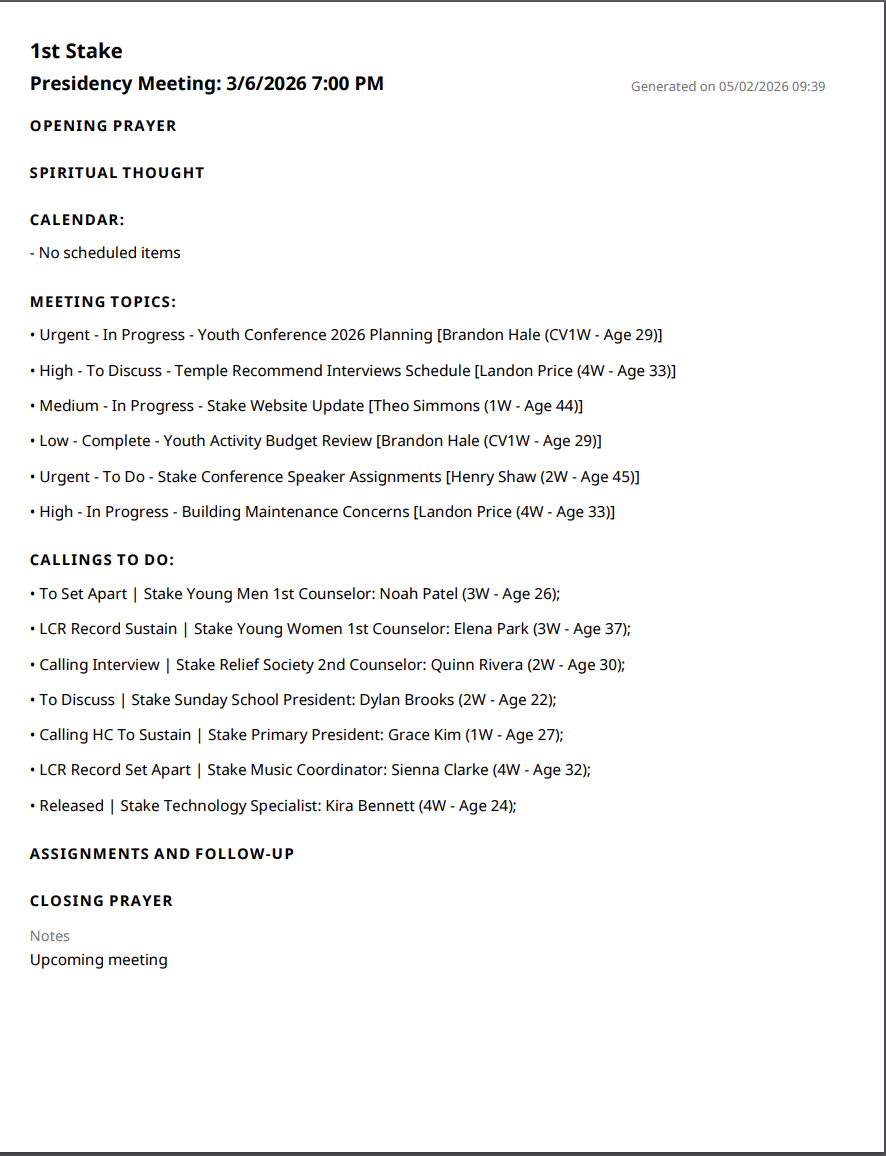
D. Meeting Agendas & Print Features
- Open a meeting and navigate to the Meeting Agenda.
- Review assigned speakers, topics, and discussion items.
- Use the Print feature to generate a meeting agenda printout.
- Print agendas for distribution or archival purposes.
E. Meeting Actions
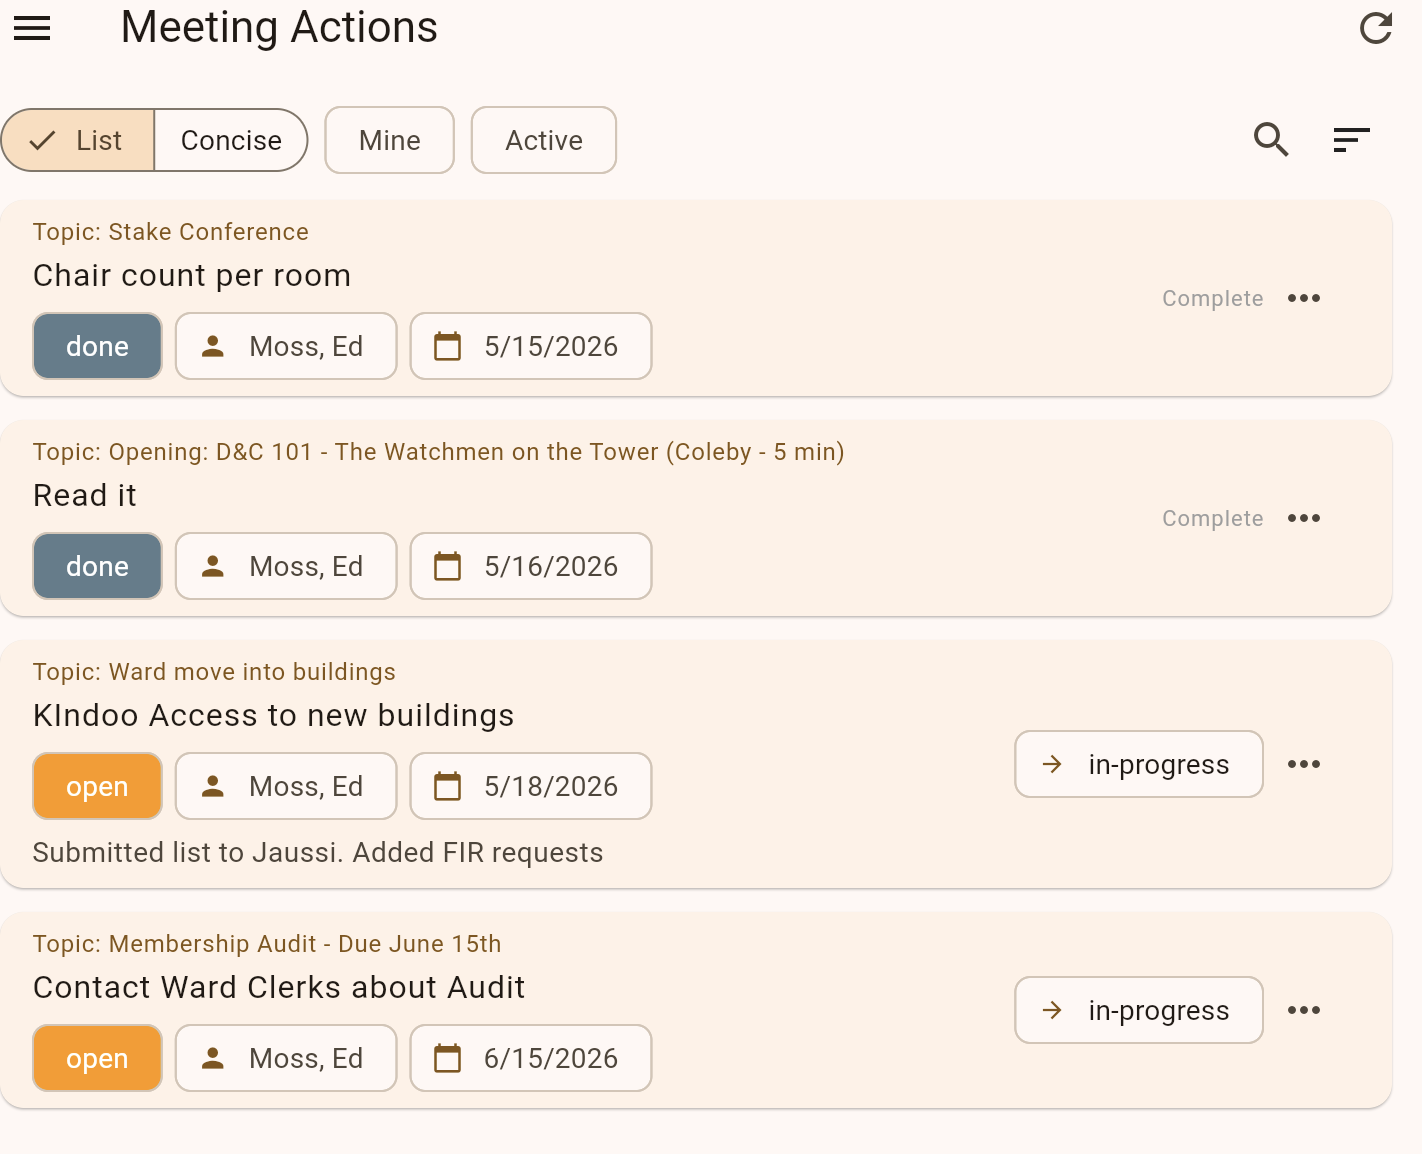
- Find global actions under Actions from the main menu, or inline within an Agenda topic.
- Use the list or concise view to scan actions, and filter by "Mine" or "Active".
- Advance the status (open → in-progress → completed) or tap to edit the instructions and resolution notes.
F. Google Calendar & Gmail Integration
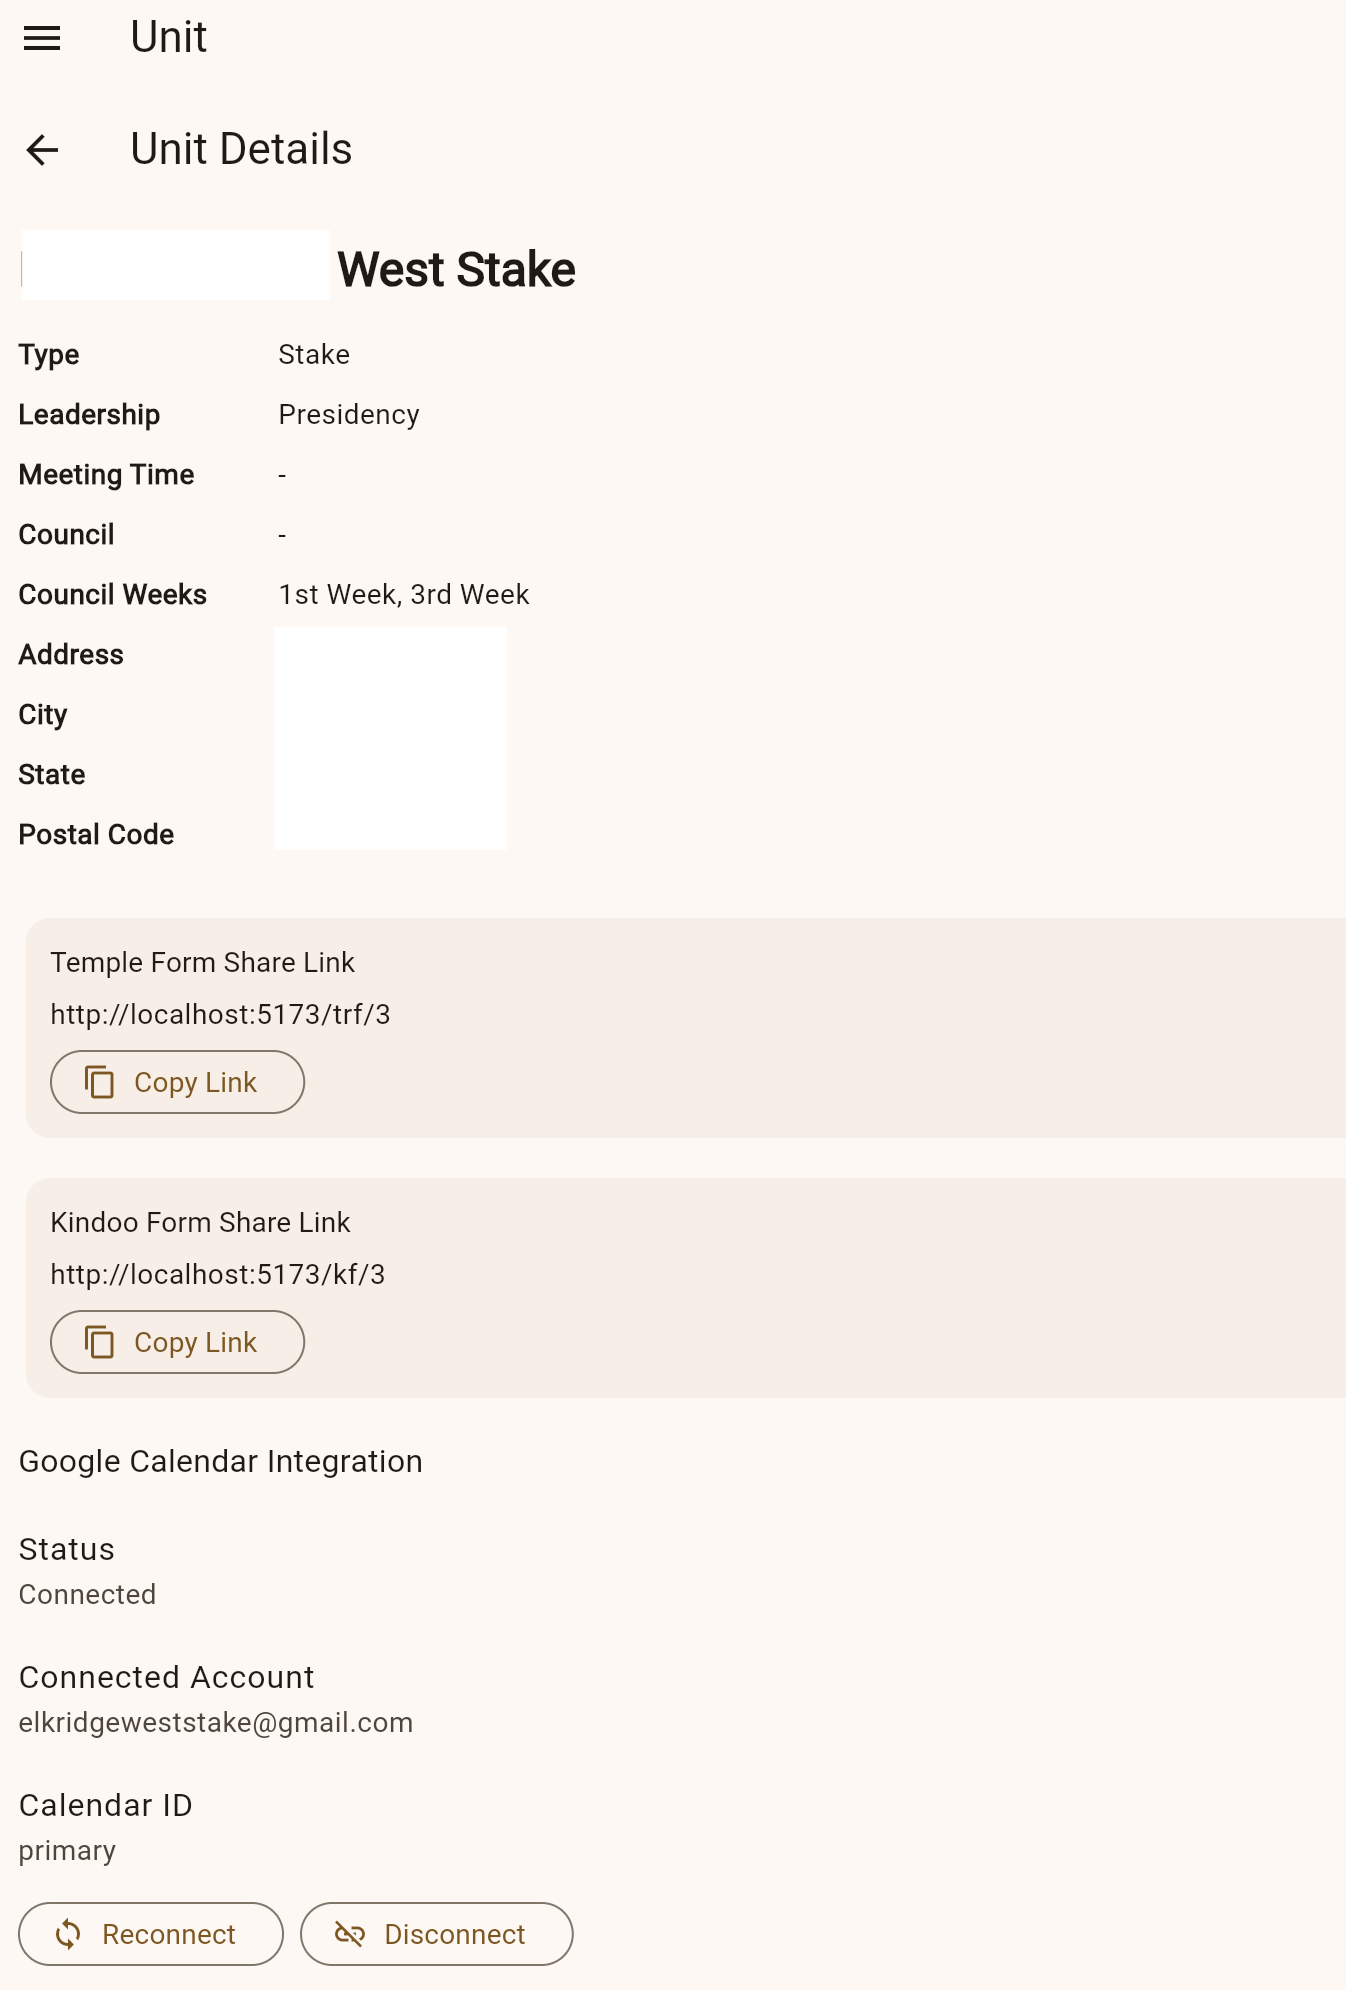
- Open the main menu and select your unit name at the bottom of the list (e.g., "1st Ward" or "Stake Settings").
- Scroll to the Google Calendar Integration card.
- Click Connect Google Calendar and sign in with an authorized Google Account.
- Once linked, your unit events will natively sync and generate emails through to your Google workspace.
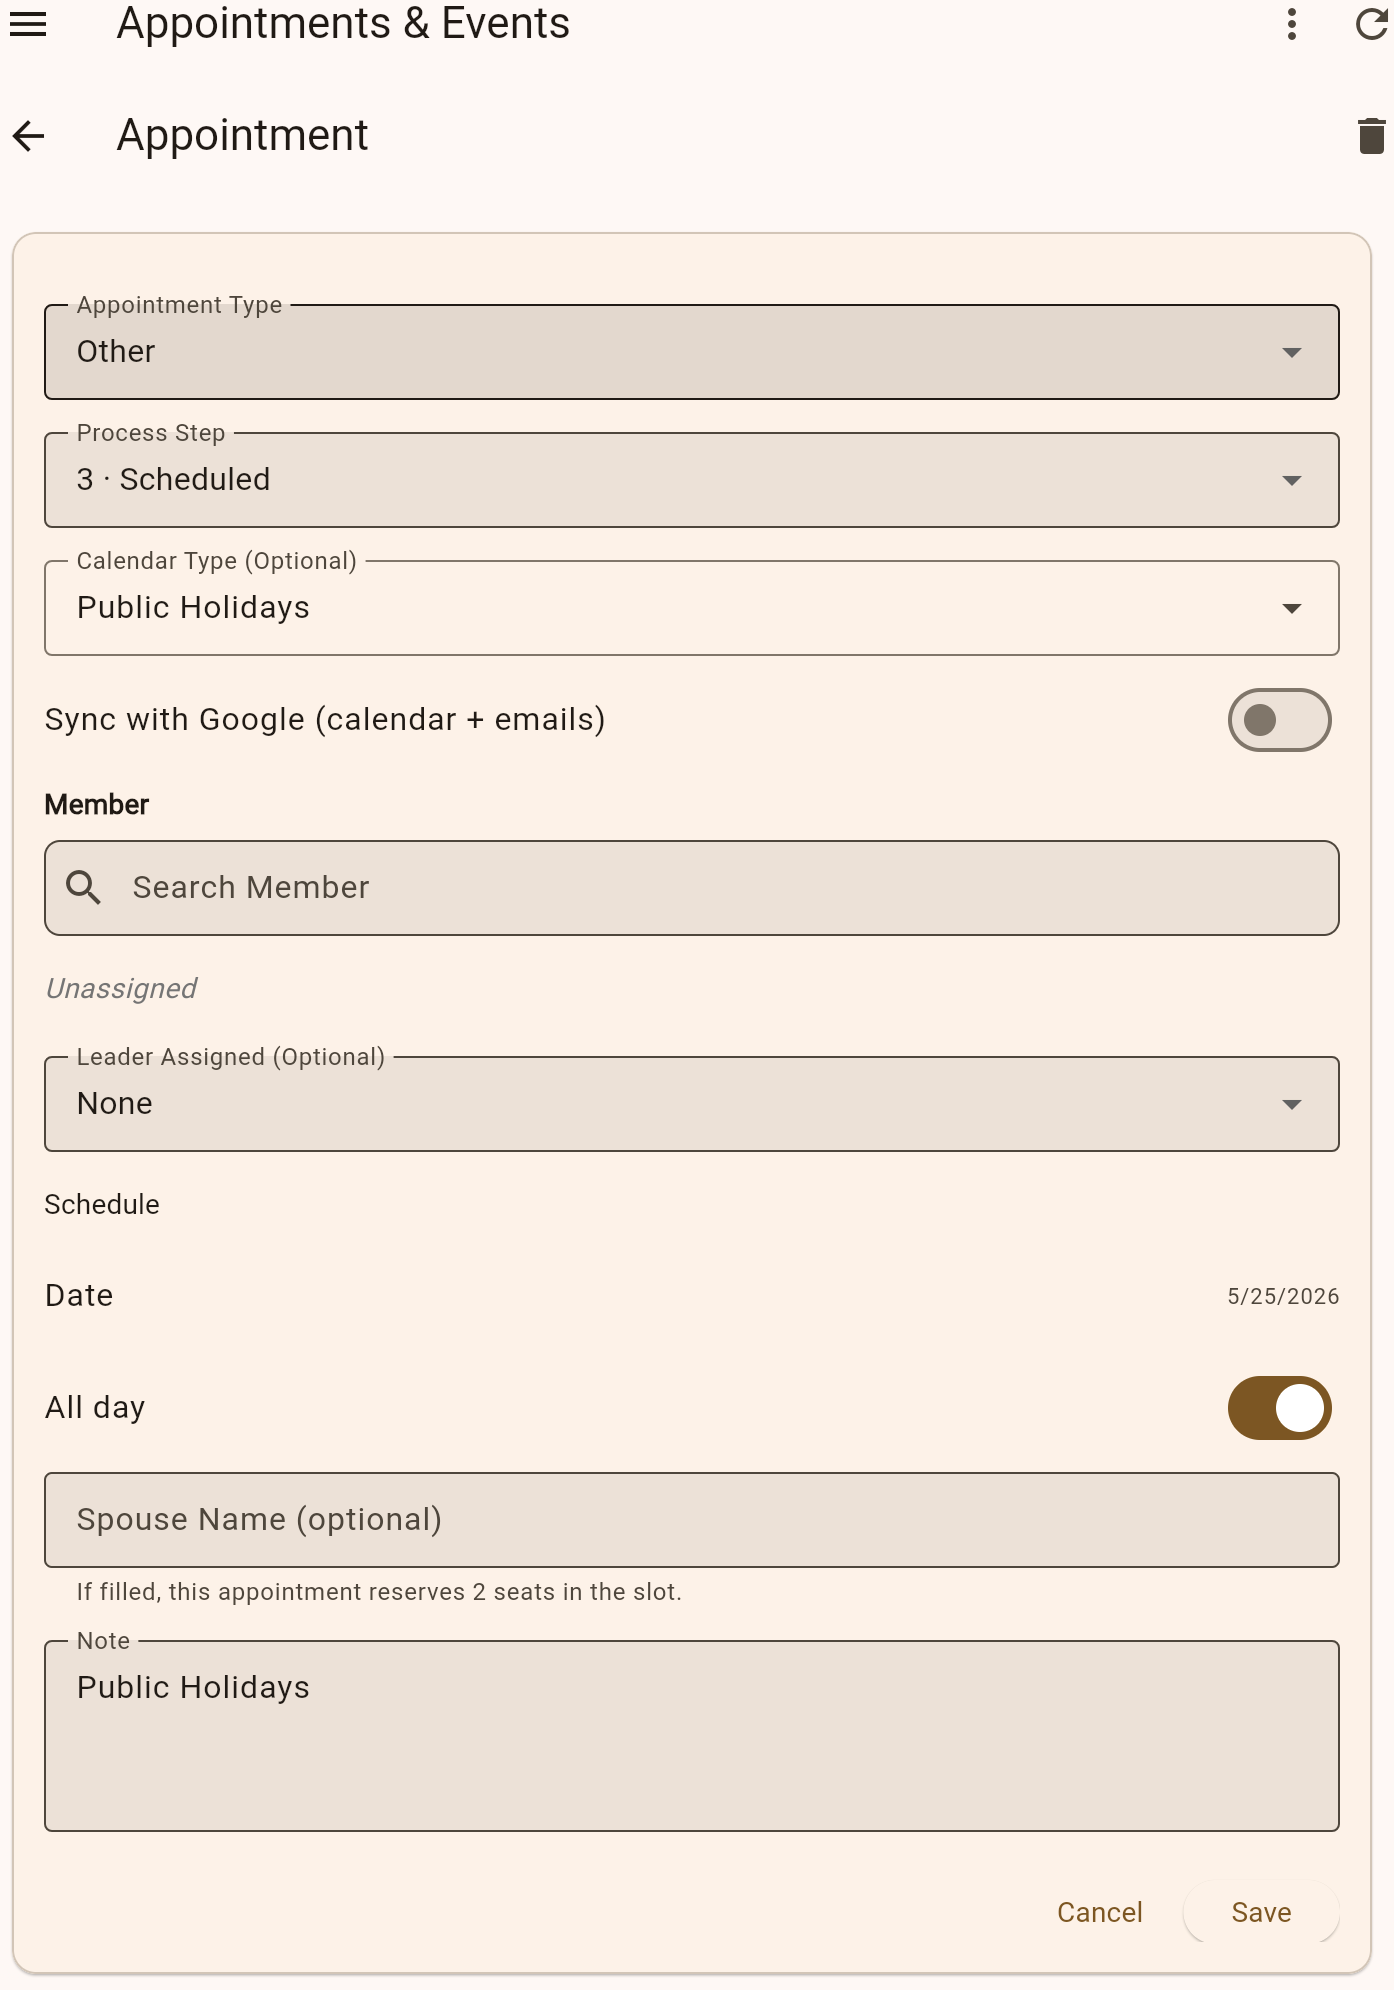
5. Temple Recommend Interviews
A. Settings Page
- Open Calendar and go to Temple Recommend Interview settings.
- Set interview window, slot duration, and interview capacity.
- Publish or save settings before sharing the public form link.
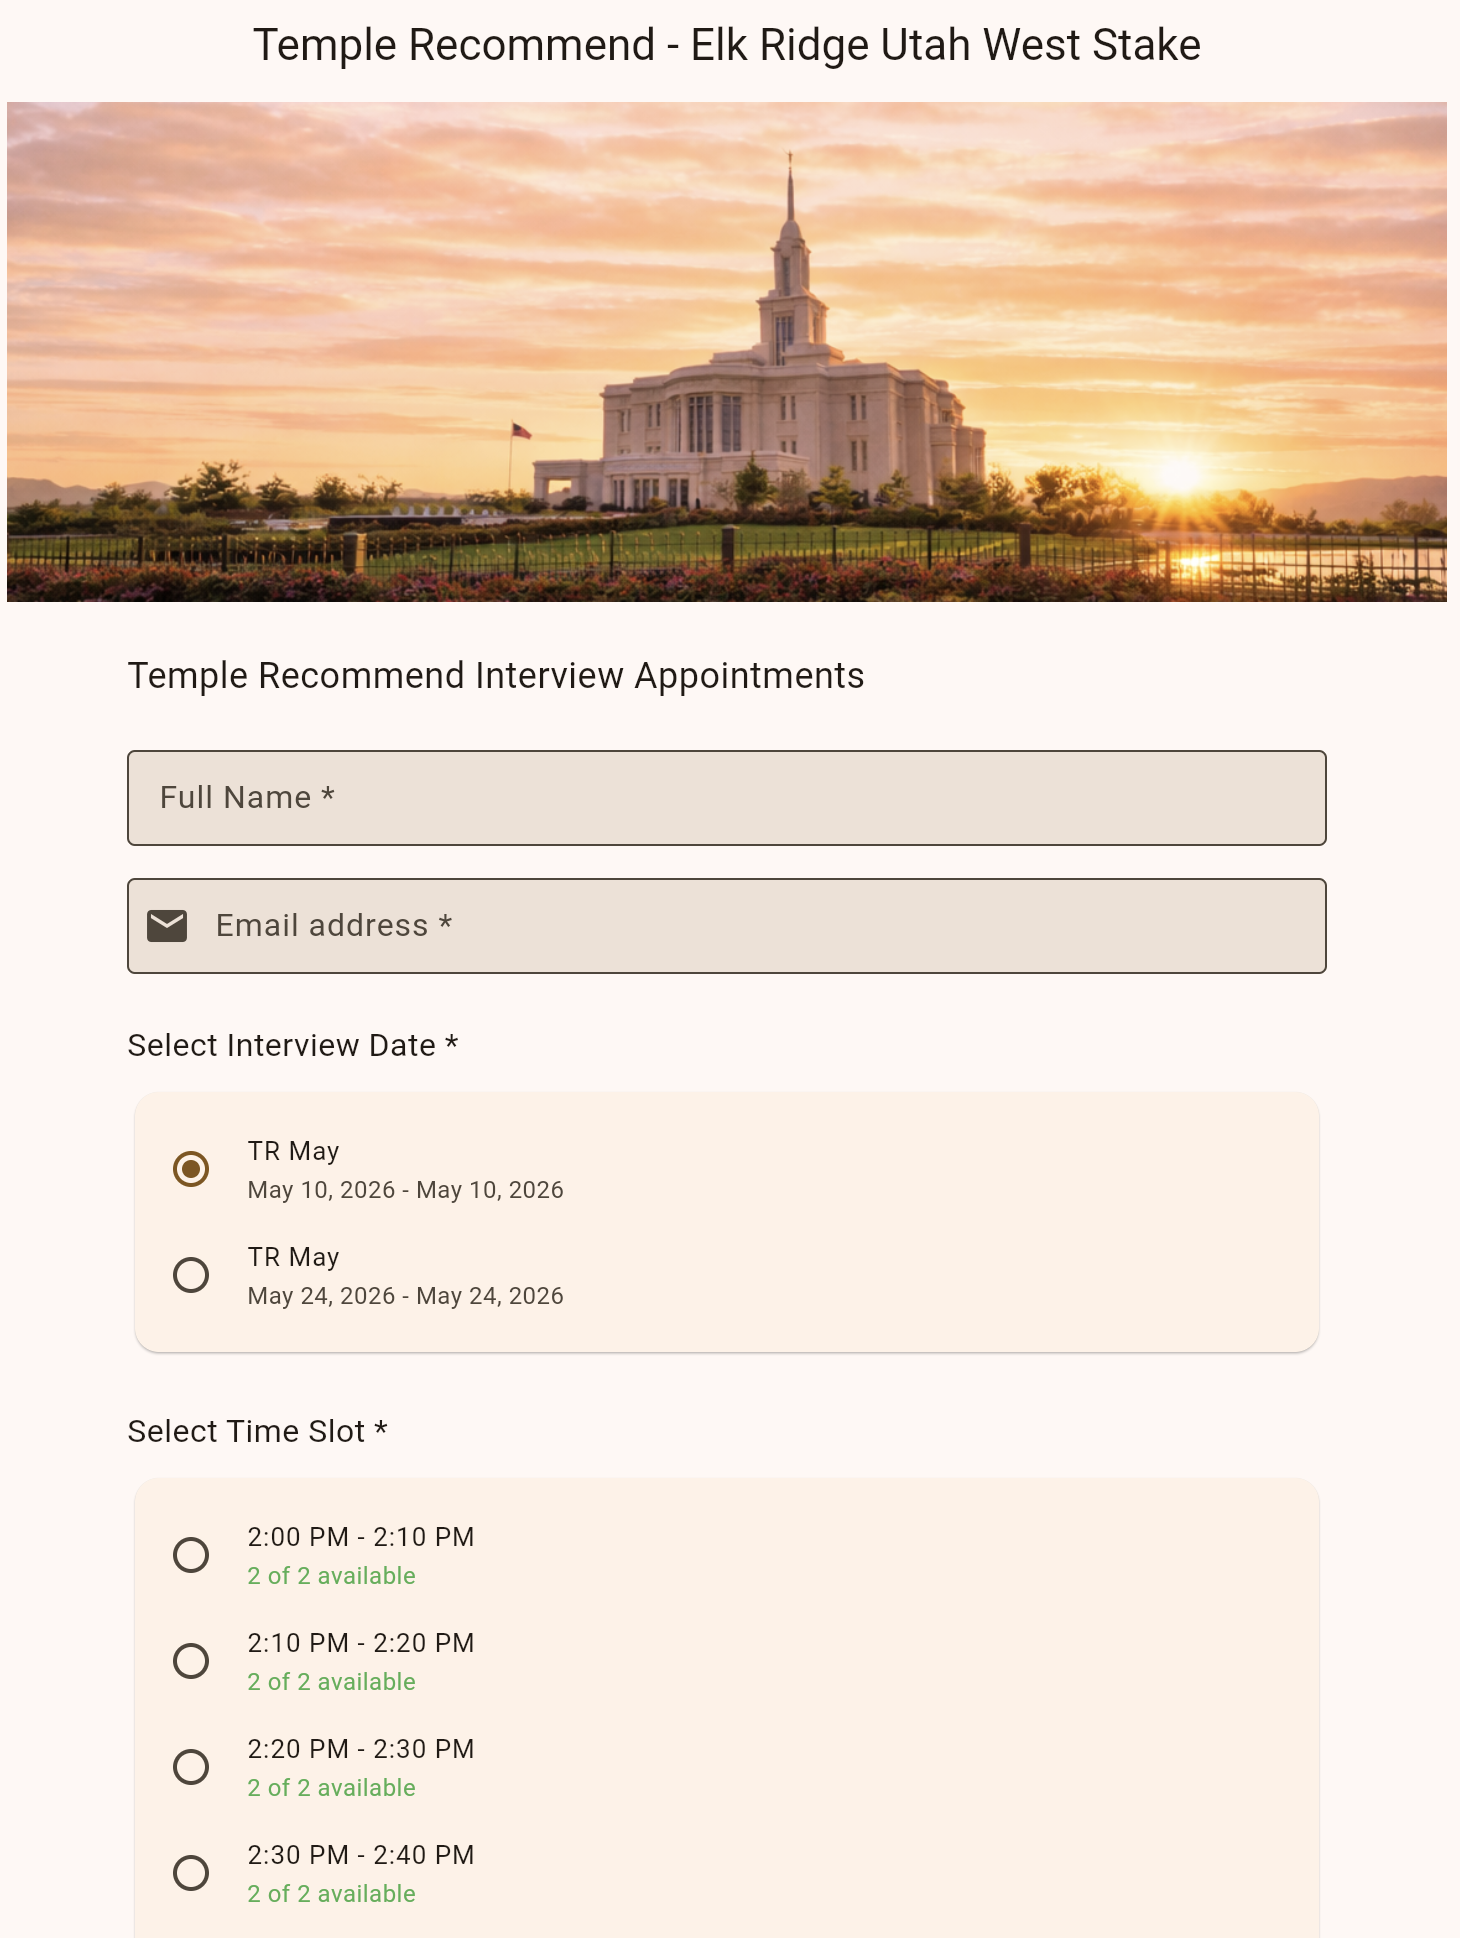
B. Public TR Form
- Open the public Temple Recommend form from the published link.
- Select unit, choose a time slot, and enter member contact details.
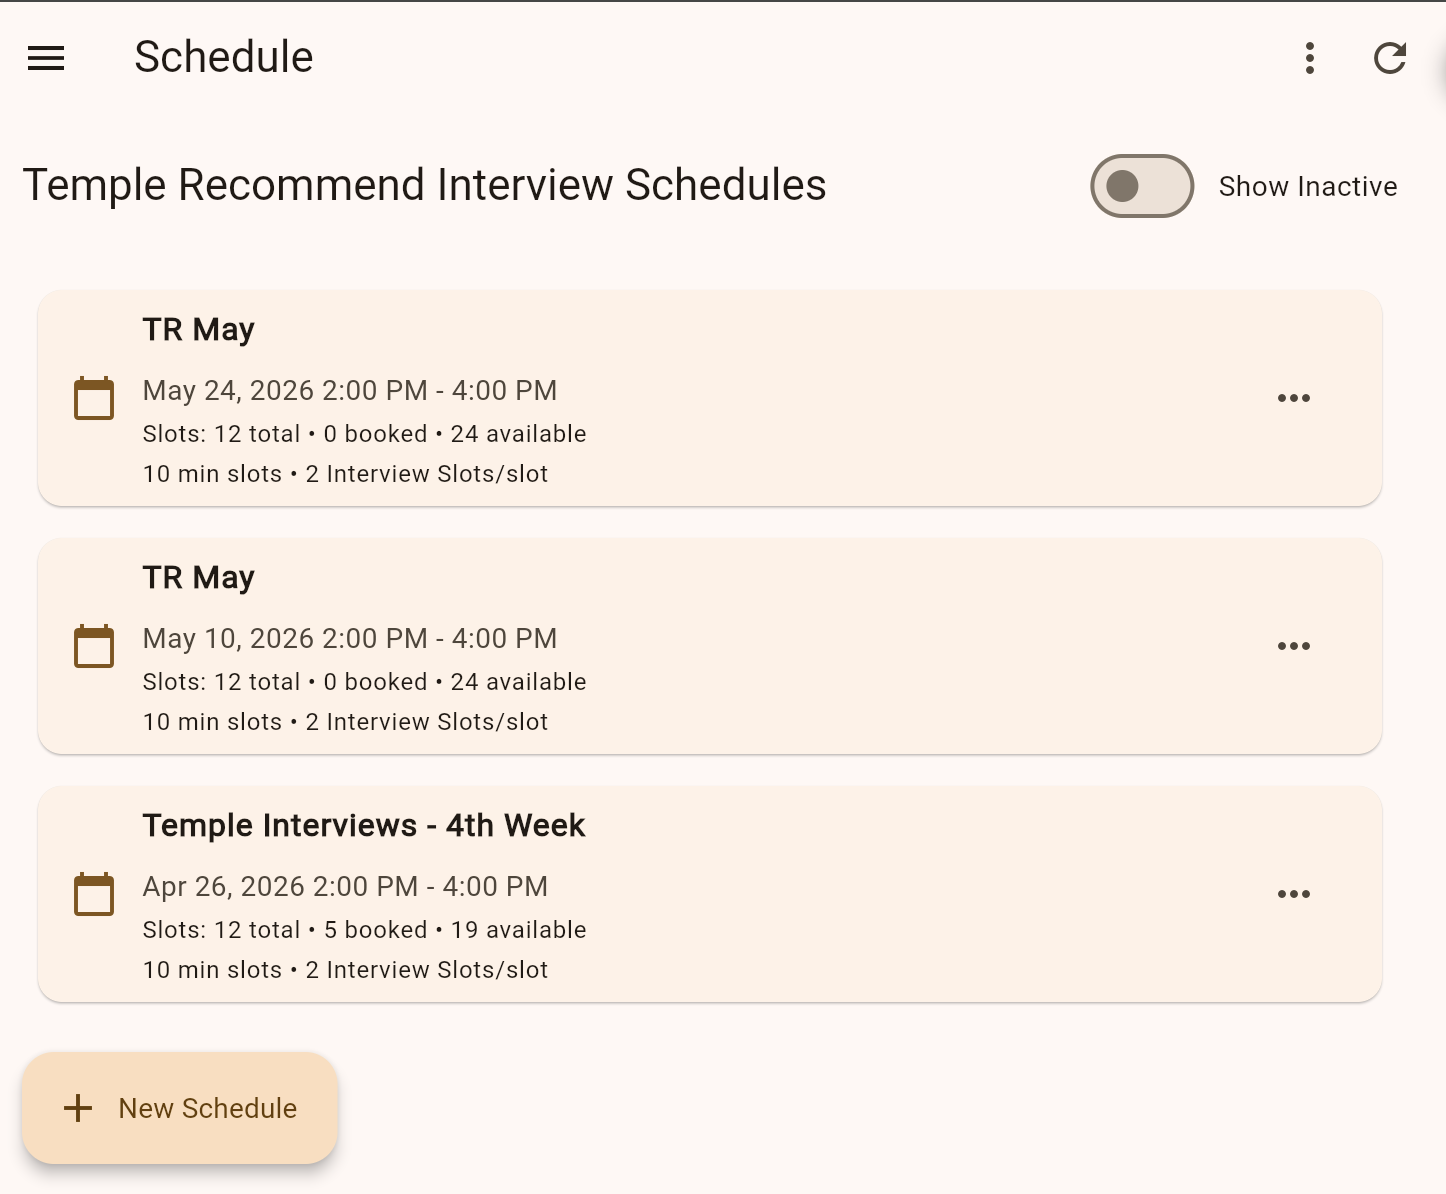
- Submit and verify that the appointment appears on the schedule.
6. Access and Permissions Quick Map
- If an action is missing, confirm role assignment first.
- Confirm active unit context (stake vs ward/branch).
- Refresh and re-open the target page before troubleshooting deeper.
7. Kindoo Building Access
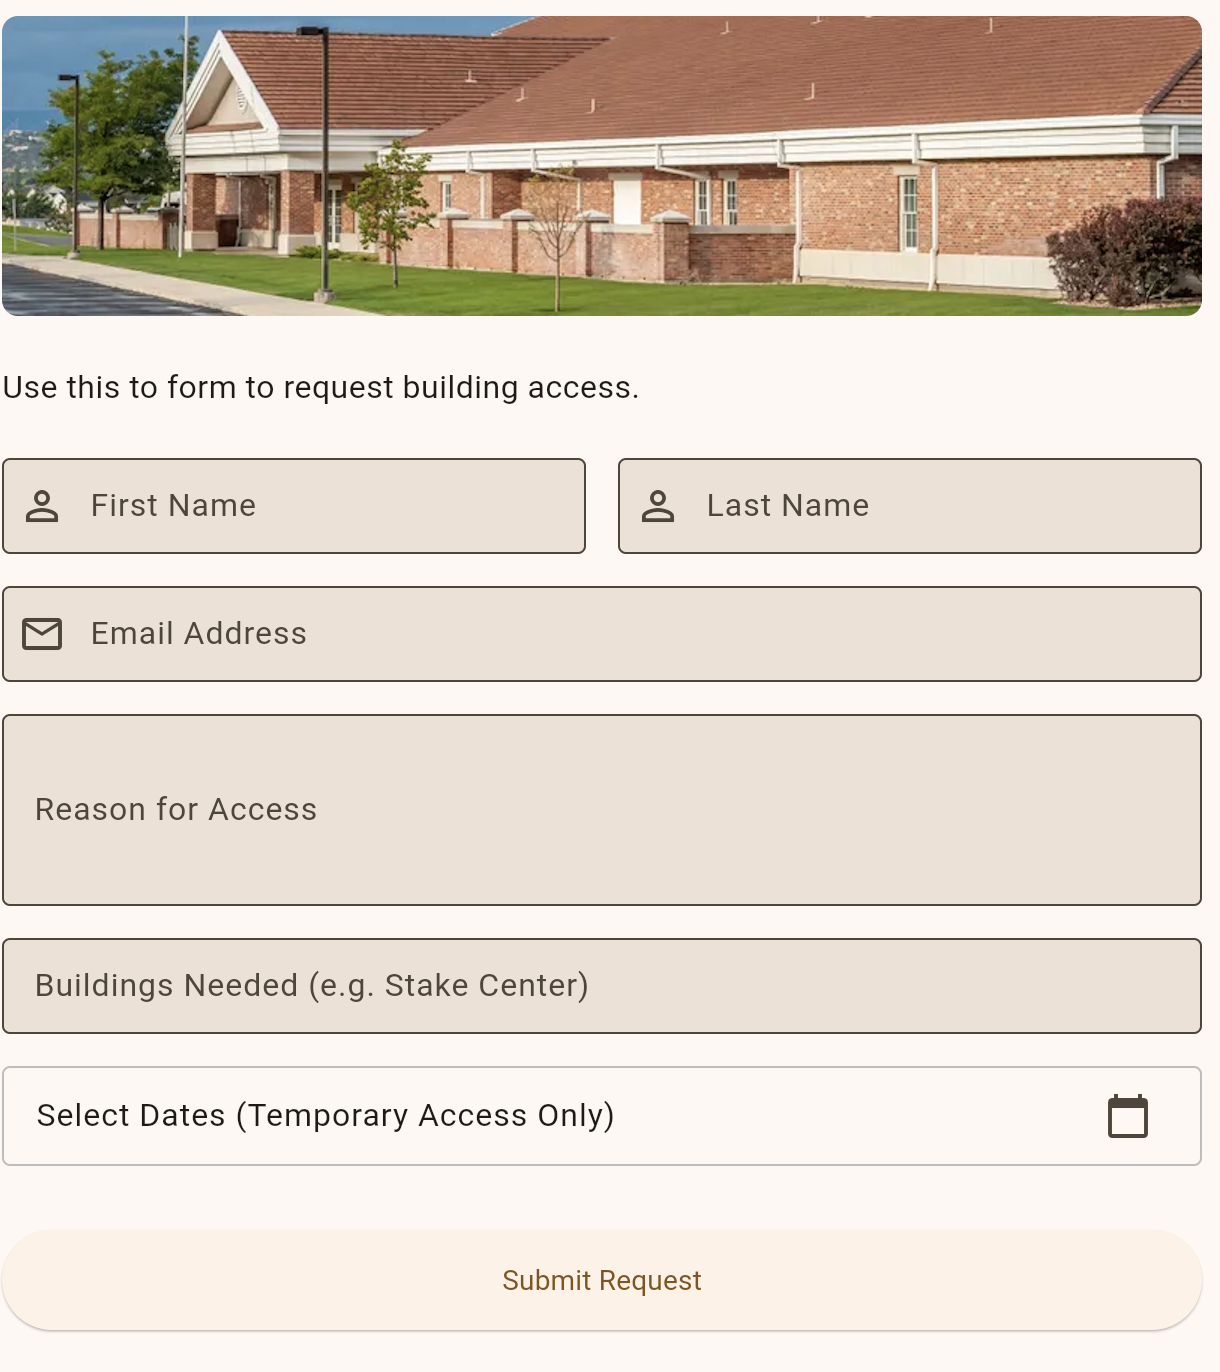
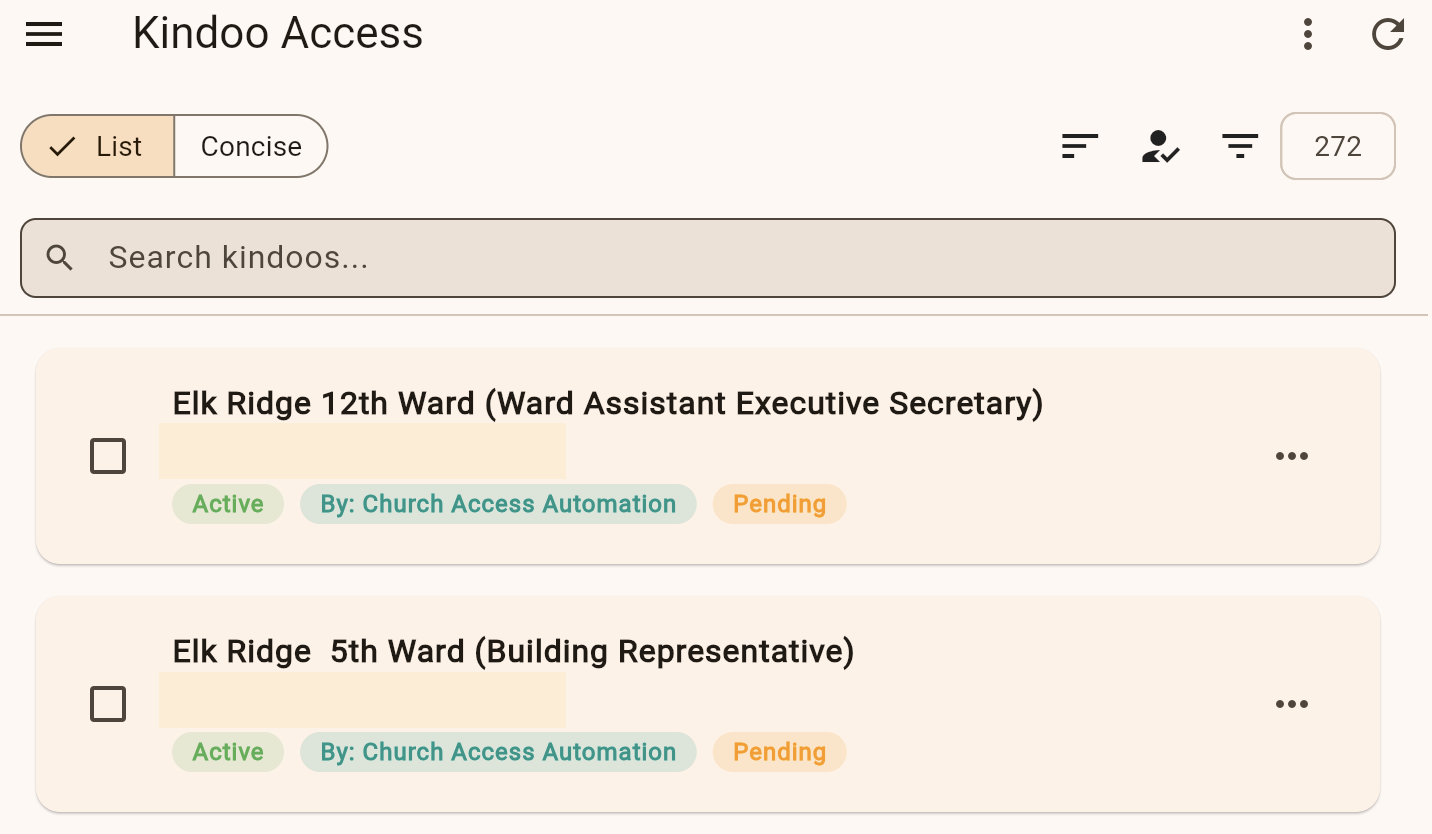
Kindoo allows you to request and manage keyless entry for your meetinghouses.
- To request building access, share the public `/kf` link with the member.
- Administrators can view and manage building access requests from the Kindoo page.
- Automated Sync: When a member's calling is marked as Released, their Kindoo building access is automatically terminated for security.
8. Scheduler and Calendar Matrix
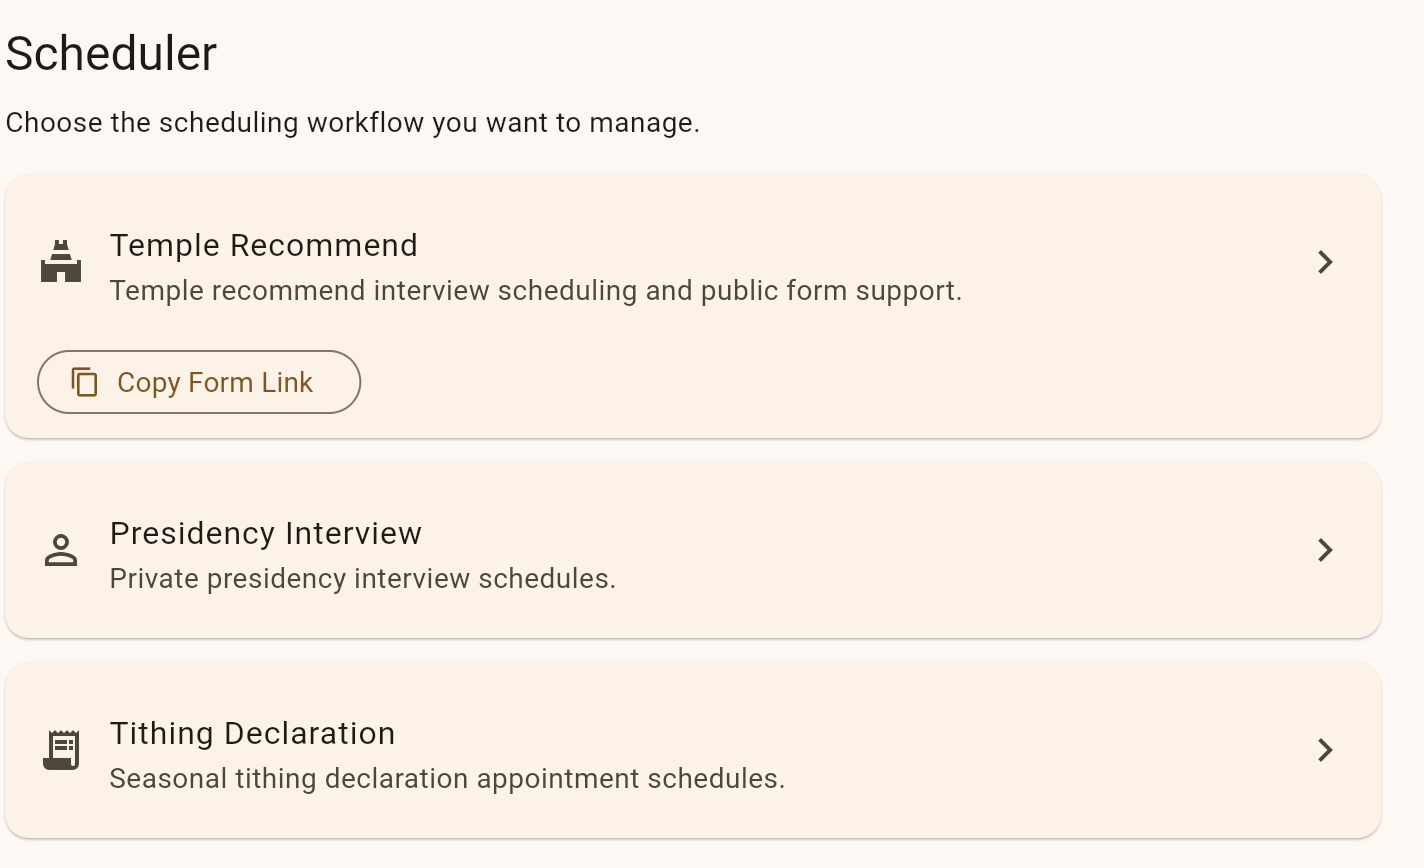
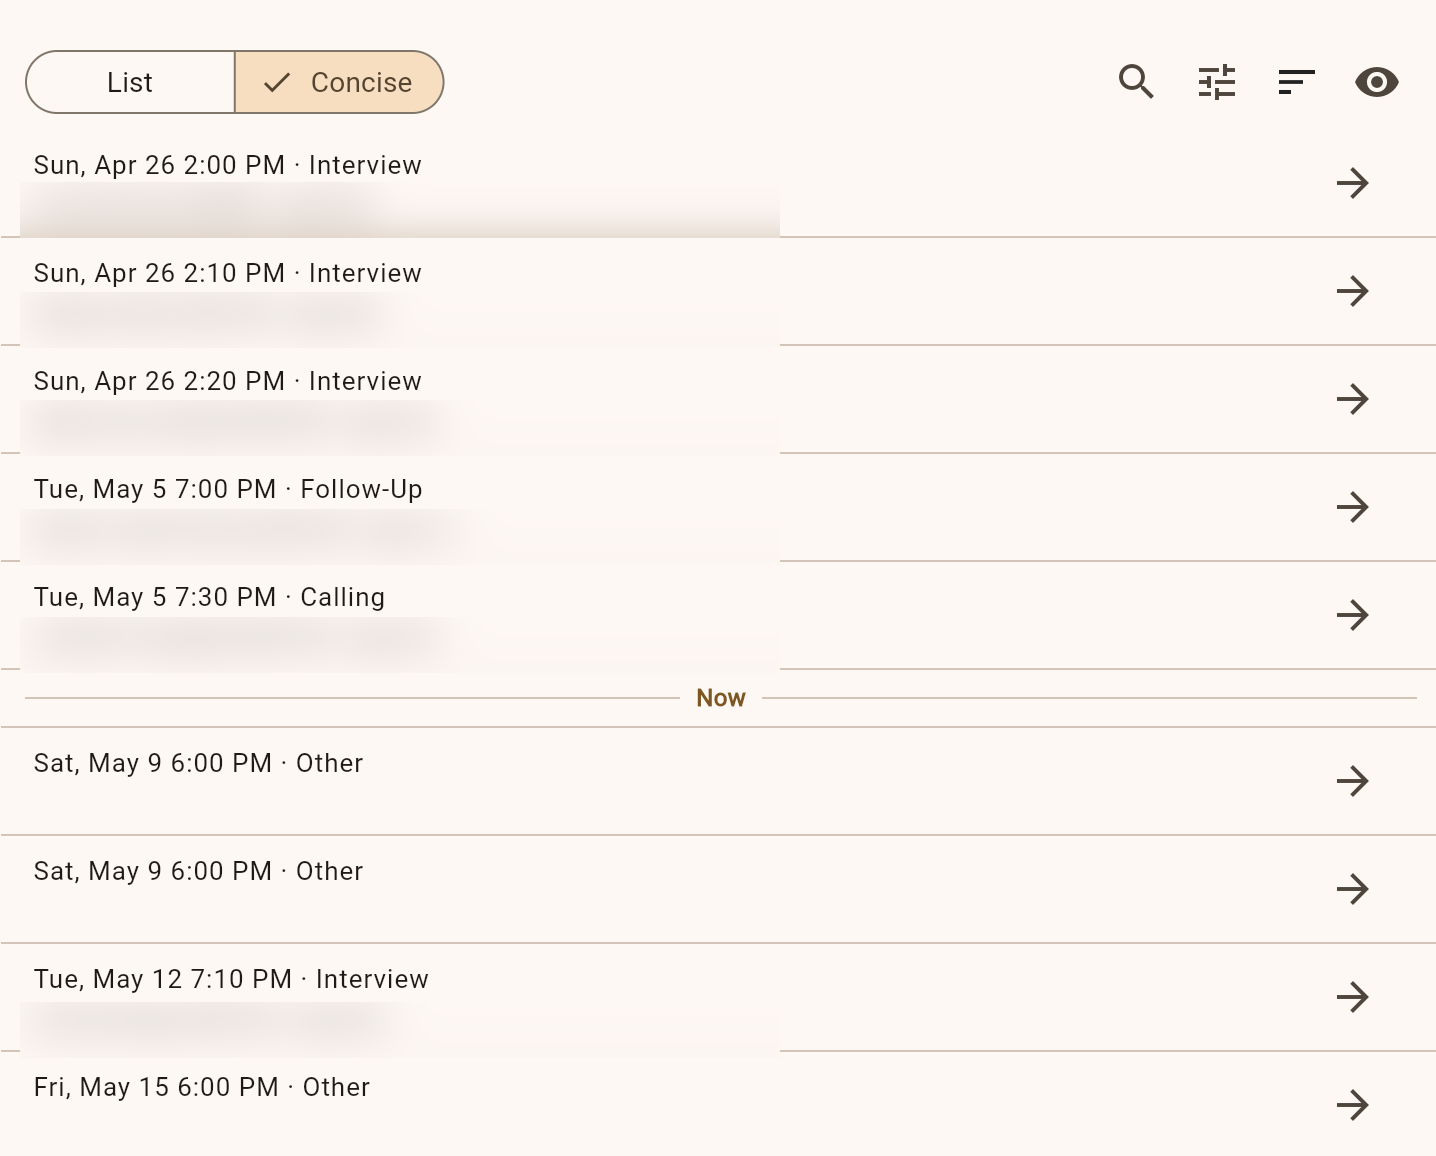
- Temple Recommend scheduler: interview booking and slot management.
- Leader Interview scheduler: leadership interview coordination.
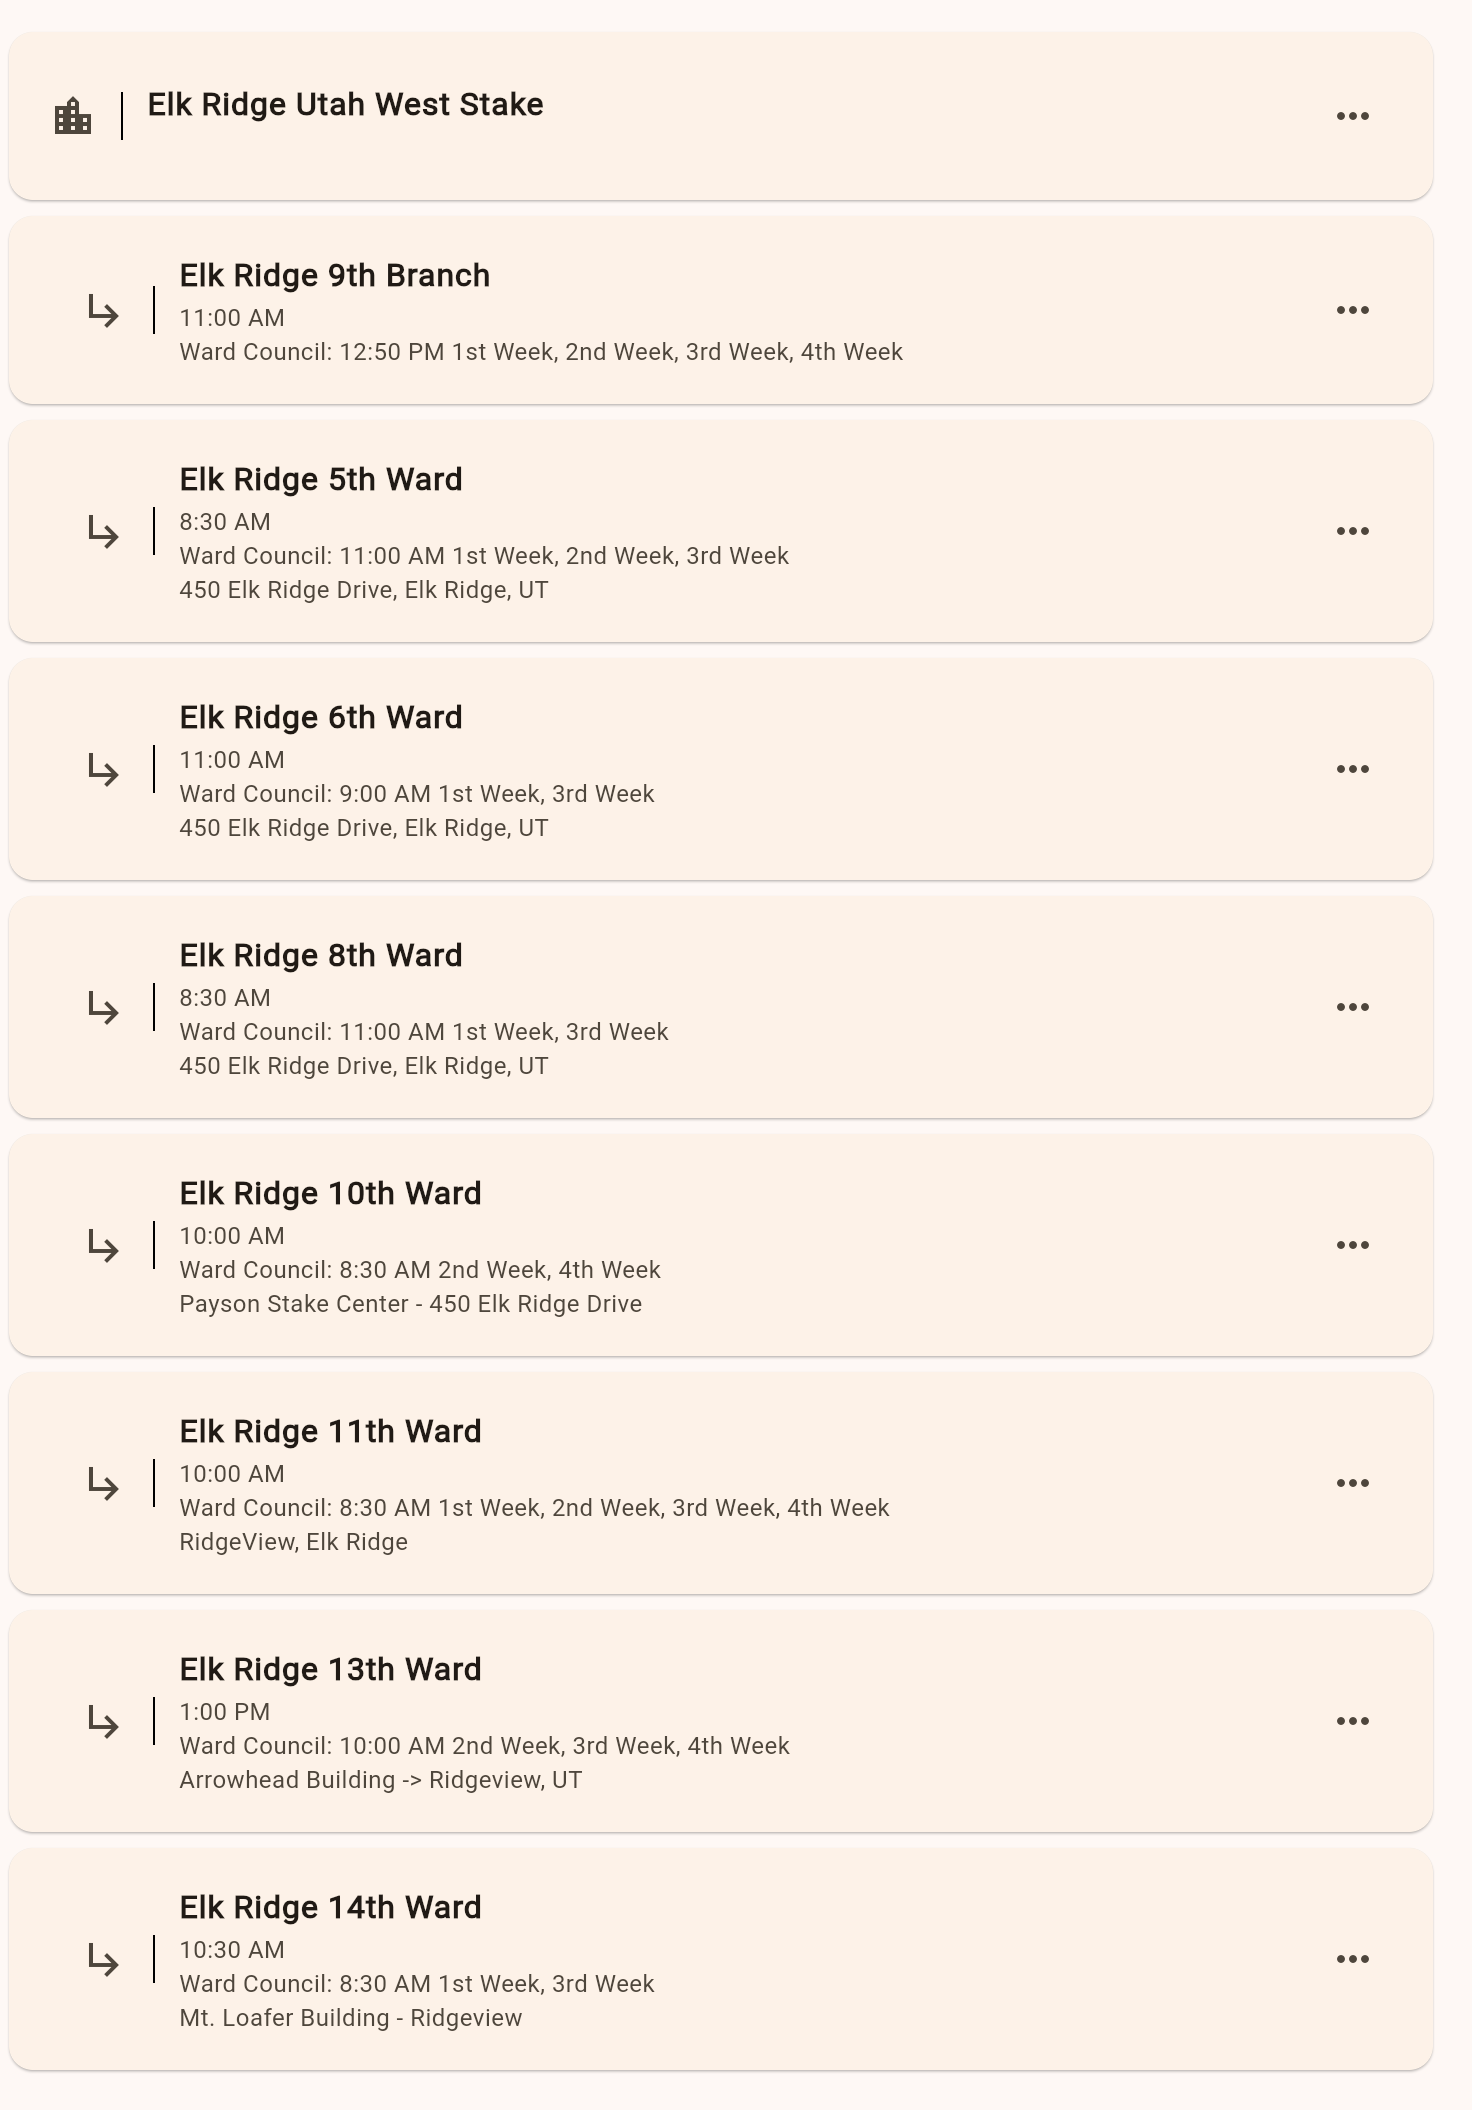
9. Users and Units Administration
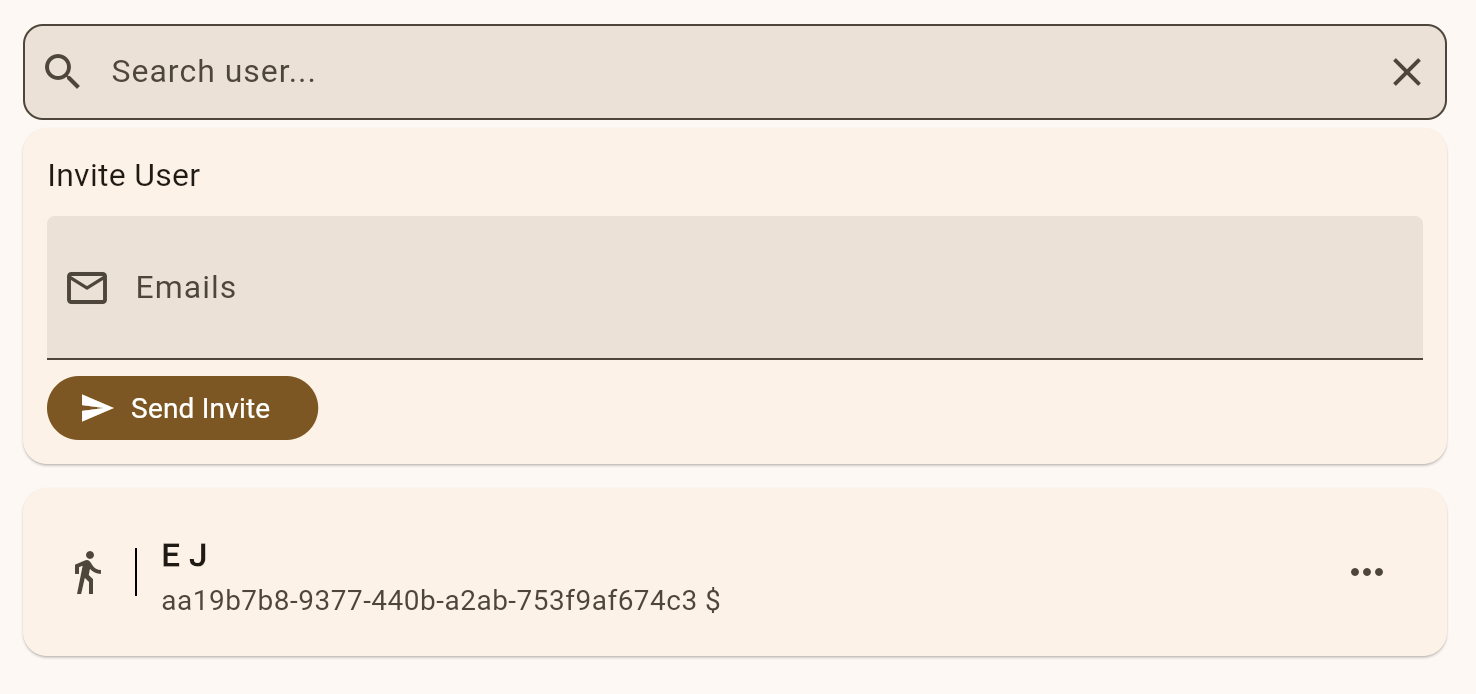
- Use Users to manage account access and role assignments.
- Use Units to manage unit records and context configuration.
- Re-check access after changes using the affected user's account.
9. Screenshot Todo
- Sacrament program page in ward/branch context.
- If save fails, refresh and try again to clear stale state.
- If records are missing, verify your unit association and permissions.
- If access is denied, contact a unit admin to review role/calling-based access.
- Include your unit name and your role (for example: Bishopric, Clerk, Stake).
- Share which page you were using and what you expected to happen.
- Add steps to reproduce and a screenshot when possible.
- For access/login issues, include the sign-in email address.
11. Troubleshooting
11. Need Help?
Use the support form for fastest triage. Typical response time is 1-2 business days.